The Spreadsheet That Started Everything
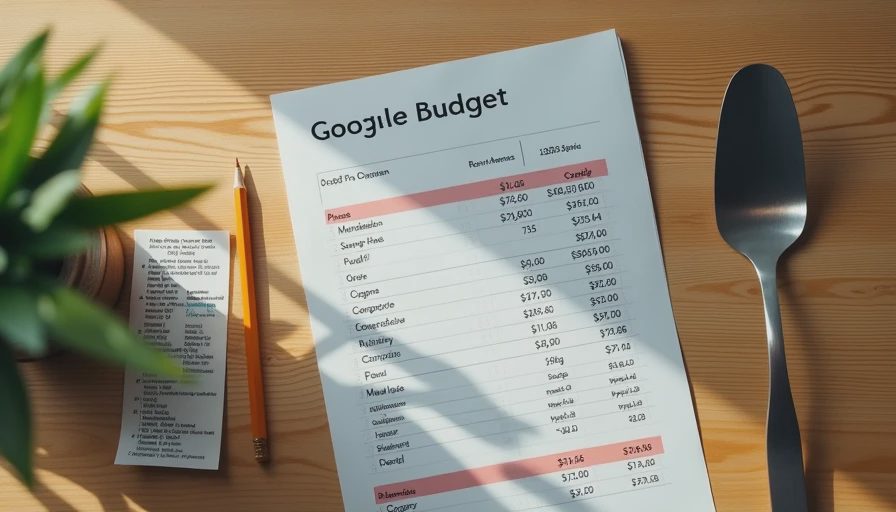
I opened a blank Google Sheet at 10:47 p.m. on a Tuesday. Megan was already asleep. The kids’ backpacks were still on the kitchen table. The almond cabinets stared back at me like they knew what was coming.
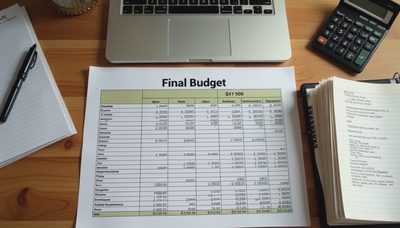
That sheet is now public. Every line item, every tax, every last box of screws will live there. This post is the origin story of the number that made us say yes: $38,000.
Not $38,000 “and then some.” Not “around forty.” Thirty-eight thousand dollars, all-in estimate for a complete gut of our 180-square-foot 1994 kitchen in Salt Lake City, Utah, in 2026 dollars. Here is exactly how we built that number, what we deliberately left out, and where we already know we are probably wrong.
The Ground Rules We Set Before Any Numbers
We made three rules the night the first contractor quote arrived at $68,000 (appliances not included).
Everything goes in the sheet the day it is spent. No “I’ll add it later.”
Contingency is real money, not a hopeful percentage we pretend will not be needed.
We only count work we will actually perform or pay for. Fantasy labor rates do not count.
Those rules kept the estimate honest. They also made the final number feel smaller than the professional bids and larger than the Instagram “we did it for $12k” posts that never mention the free labor from three cousins.
Phase-by-Phase Breakdown
Phase 0 – Research, Design & Permits
Budgeted: $1,450
Cabinet design software subscription and printed elevations: $180
City of Salt Lake permit fees (electrical + plumbing rough-in): $620
Dumpster reservation deposit: $350
Sample boards, paint chips, and the three trips to the tile store that produced nothing but decision fatigue: $300
This phase is the one everyone underestimates because it feels like “just thinking.” It is not. It is the phase where you discover that the original 1994 electrical panel has exactly one open breaker and the city wants a drawing of the new lighting plan.
Phase 1 – Demolition & Disposal
Budgeted: $2,800
20-yard dumpster for two weeks: $650
Protective plastic, zipper doors, and the world’s most expensive blue tape: $220
Tool rental (demo hammer, oscillating multi-tool): $180
Labor (us + one very kind friend who works for pizza and beer): $0 cash, but we budgeted $400 for the thank-you dinner and the new blade he ruined
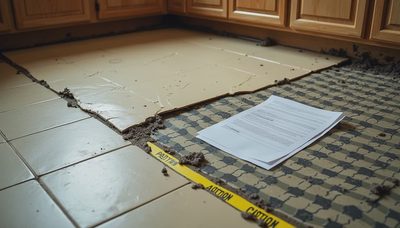
Unexpected: asbestos testing on the old vinyl floor: $350 (already spent)
Contingency for “whatever is under the subfloor”: $1,000
We budgeted the full contingency here because every YouTube video and every contractor buddy said the same thing: you will find something. We already found 1996 mouse traps. The asbestos test came back negative, but the money is still allocated.
Phase 2 – Rough-ins (Plumbing, Electrical, Framing)
Budgeted: $6,900
This is the phase where we stop pretending we are fully DIY.
Licensed plumber for new sink location, dishwasher line, and gas range stub-out: $2,400
Licensed electrician for new circuits, under-cabinet lighting, and panel update: $2,800
Framing adjustments and blocking for wall cabinets: $600 (materials + Dave’s Saturday rate)
Temporary kitchen setup (camp stove, folding table, Instant Pot corner): $300
Contingency: $800
We could have tried to run the electrical ourselves. We did not. The day I looked at the panel and realized I did not know which breaker controlled the disposal, the decision made itself.
Phase 3 – Cabinets, Countertops & Major Surfaces
Budgeted: $18,400
This is the heart of the number and the place most budgets explode.
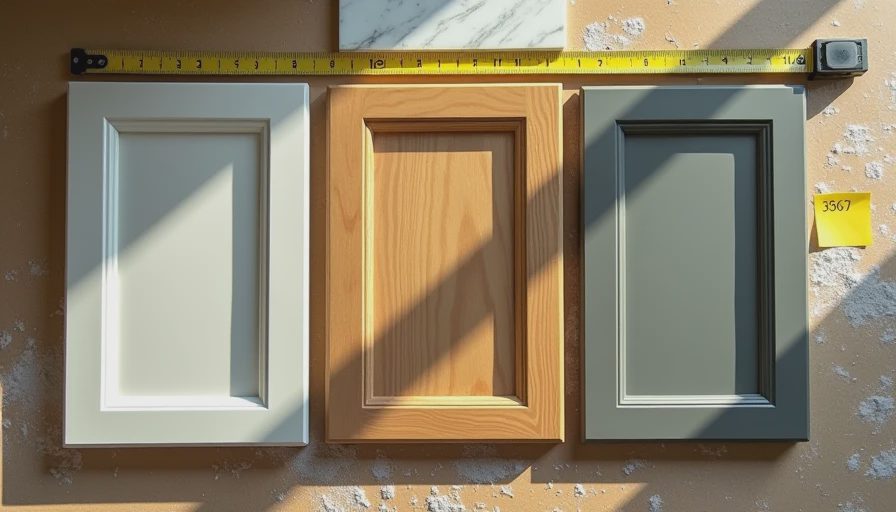
RTA shaker cabinets (wall + base, soft-close, all plywood boxes): $7,200 delivered
Hardware (pulls, hinges, soft-close upgrades we decided we could not live without): $680
Quartz countertops, templated and installed (including sink cutout): $4,900
Backsplash tile + thinset + grout + the cheap wet saw that somehow cut every piece: $1,150
Luxury vinyl plank flooring (waterproof, kid-and-dog rated): $2,100 installed by us
Paint, primer, and the ceiling that turned out to be more work than the walls: $370
Contingency for cabinet freight damage or wrong doors: $1,000
We priced three cabinet routes: big-box RTA, IKEA, and a local semi-custom shop. The RTA option won on both price and the fact that the boxes arrived with actual plywood instead of particleboard that swells when it sees a water glass.
Phase 4 – Finish Work, Appliances & Punch List
Budgeted: $6,250
New range, dishwasher, and microwave (mid-range, no smart features we would never use): $3,100
Faucet, sink, and disposal: $780
Under-cabinet lighting and final fixtures: $420
Caulk, silicone, touch-up paint, and the seventeen trips to the hardware store for “just one more thing”: $350
Final cleaning and the professional detail day before the first real family dinner: $400
Remaining contingency and sales tax buffer: $1,200
Appliances were the one place we refused to go full bargain. A range that cannot hold temperature is not a savings; it is a long-term tax on every meal.
The Contingency Philosophy
We built a 12 % overall contingency into the $38,000. That is higher than many online calculators recommend and lower than every contractor we spoke with suggested. The difference is transparency. Because the sheet is public, every time we dip into contingency the reason will be visible. No quiet padding. No “owner’s allowance” that mysteriously disappears.
What We Deliberately Left Out
New windows (the existing ones are fine and replacing them would have added $4,800)
Moving walls or changing the footprint
High-end custom cabinetry
Designer fees
The cost of our own labor (if we paid ourselves even $25 an hour the number would jump another $8,000–$10,000)
Leaving labor out of the cash budget is both honest and dangerous. It is honest because the money does not leave the bank account. It is dangerous because time is the one resource we cannot buy more of once the dumpster is in the driveway.
How the $38,000 Compares
The three contractor bids we received ranged from $62,000 to $81,000 (still without appliances). The gap is almost entirely labor and markup. We are not claiming our number is better; we are claiming it is the number we can actually write checks for while still funding soccer and the occasional ski day at Brighton.
The Living Document
The sheet will update in real time. When the cabinet order is six weeks late and two doors arrive with the wrong hinge side, that cost will appear. When we discover the subfloor needs sistering, that cost will appear. When the final total lands at $41,400 or $36,800, that number will be public too.
This is not a theoretical budget. It is the starting line for a real family in a real 1994 house with a real spreadsheet that already has more color-coding than a product roadmap.
Measure twice, cook once.
And keep the receipts.