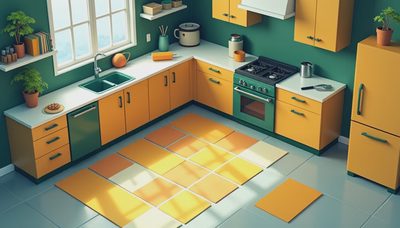
When Megan and I started researching diy concrete kitchen countertops, I imagined a Saturday project: build a form, pour the mix, smooth it out, and admire the industrial finish by dinner. That was adorable. Our 1994 kitchen took three weekends, several hardware-store runs, and one countertop that looked briefly like a fossil bed.
The finished counters are still one of my favorite parts of the remodel. They cost less than many professionally installed stone options, but they were not free, easy, or especially forgiving. If you are considering diy concrete kitchen countertops, here is the real process, the money we spent, and the mistakes I would avoid next time.
What our project actually cost
Our countertop run measured about 48 square feet across two sections, including a short peninsula. We kept the existing cabinet layout and removed the almond laminate tops ourselves. That decision saved demolition labor but created a few uneven cabinet surfaces that needed shimming before we could build anything.
Here is where our approximately $1,180 budget went:
- Countertop concrete mix and additives: $285
- Melamine sheets for forms: $118
- Reinforcing mesh and small hardware: $96
- Sealer and compatible primer: $168
- Pigment, release agent, and patching compound: $92
- Diamond sanding pads and polishing supplies: $214
- Mixing buckets, gloves, respirators, and disposable supplies: $127
- Mistakes, replacement material, and extra caulk: $80
That total does not include tools we already owned, including a drill, circular saw, shop vacuum, and random orbital sander. Renting a concrete mixer was unnecessary for our project, but a second orbital sander would have made the finishing stage much faster. A fabricator would have charged substantially more, but would also have brought experience we clearly lacked.
Our most expensive surprise was not the concrete. It was the finishing system. We initially bought an inexpensive countertop coating because the label promised a durable kitchen surface. After testing it on a sample, we did not trust it around the sink. We bought a better product, and the first coating became a $43 lesson in reading technical data sheets before shopping.

Building the forms without creating a permanent mistake
The form is the countertop. That sounds obvious, but every crooked edge, exposed screw head, and gap in the melamine can show up in the final surface. We made forms on a flat workbench from melamine-coated particleboard, using strips cut to the planned thickness. The slick surface helped release the cured slabs and produced relatively smooth sides.
We measured the cabinet footprint, then measured it again after installing temporary plywood templates. This caught a wall that was not straight by nearly half an inch over the length of the run. A rigid countertop cannot politely ignore an old wall, so we transferred the irregular shape to the form rather than assuming the backsplash would hide everything.
For the sink opening, we used the manufacturer’s template and built a removable insert. This was the point where my product-manager brain wanted to create a clean specification and move on. Instead, I discovered that a template can be accurate while your placement is still wrong. We dry-fitted the actual sink before pouring and found the faucet clearance was tighter than expected.
Seal every inside corner of the form with a neat bead of silicone. The silicone creates a small radius and prevents wet mix from leaking. I made the first bead too large, leaving a rounded edge that required more sanding. It was not disastrous, but it turned a ten-minute caulking task into an hour of corrective work.
Mixing, reinforcing, and pouring
Concrete is heavy, so our largest slab was poured in place on a temporary support structure. Smaller sections were poured in the garage and carried inside after curing. If you pour off-site, plan the route before mixing. We measured the doorway, removed a door, and still had a tense five minutes getting the peninsula through the kitchen entrance.
For diy concrete kitchen countertops, consistency matters more than heroics. We weighed water instead of pouring it by eye, mixed each batch for the recommended time, and kept the proportions recorded in our renovation spreadsheet. Adding extra water makes the mix easier to spread but can weaken the finished slab and encourage surface defects. We learned that after one test batch dried with a soft, sandy patch.
We embedded reinforcing mesh according to the product directions and used small supports to keep it positioned within the slab rather than resting on the bottom of the form. We also tapped the sides of the forms with a rubber mallet to help release trapped air. A rented concrete vibrator would have been useful, but aggressive vibrating can separate materials, so we chose careful tapping for these relatively small sections.
The pour itself was stressful but manageable. Work steadily, keep the tools clean, and have one person mixing while another places and levels. Our kids were not invited to this phase. Charlie still tried to inspect the operation, but concrete dust and curious hands are a bad combination.
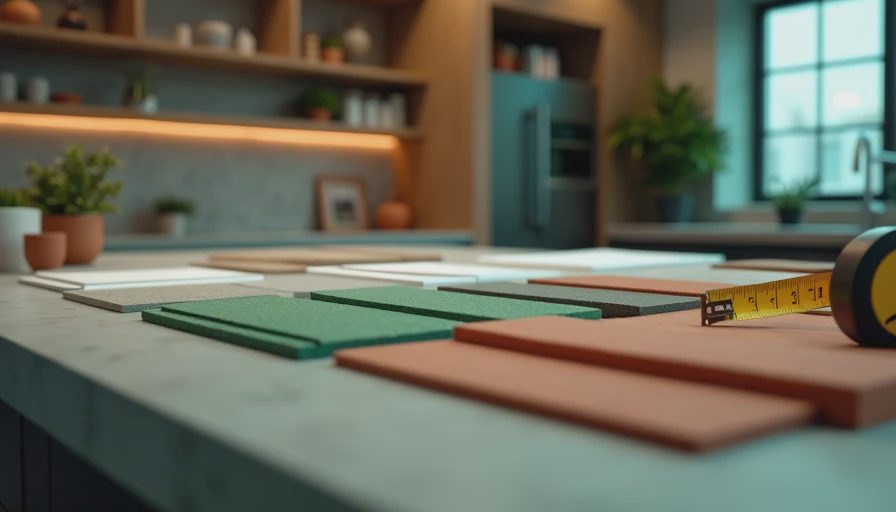
The part nobody wants to rush: curing and sanding
We left the slabs covered and undisturbed for several days. The exact cure time depends on the product, temperature, thickness, and manufacturer instructions. Our garage was cooler than the kitchen, so the pieces needed longer than the optimistic timeline printed in my spreadsheet.
After demolding, the counters looked rougher than expected. Tiny pinholes appeared across the surface, and one corner chipped while we moved it. We filled the pinholes with a fine slurry made for the system, allowed it to dry, and sanded through several grits. This is where diy concrete kitchen countertops stop feeling like a budget alternative and start feeling like a finishing project.
Sanding generated an astonishing amount of gray dust. Wet sanding reduced airborne dust but created slurry that had to be contained and cleaned. We wore eye protection and a suitable respirator, kept the work area isolated, and used a shop vacuum with the appropriate filter. Do not treat concrete dust like ordinary sawdust; protect your lungs and keep it away from appliances and food-preparation areas.
We spent nearly two full days on sanding and edge corrections. The counter became smoother and more attractive with each pass, but not perfectly uniform. That variation is part of the appeal for us. If you want a flawless factory surface, concrete might be the wrong material or professional fabrication might be the better value.
Sealing and living with the result
A concrete countertop needs a sealer selected for kitchen use. We tested ours on a sample with water, lemon juice, cooking oil, and a coffee spill. The sample was not a laboratory test, but it showed us how quickly an unsealed or poorly sealed surface could stain. We applied multiple thin coats according to the product instructions and allowed the full cure period before using the counters normally.
The finished surface is not maintenance-free. We wipe spills promptly, use cutting boards, and avoid setting hot pans directly on it. The sealer has held up well around the sink, although a small dull spot appeared after a bottle of cleaner sat there overnight. It is visible only from certain angles, and I consider it normal wear rather than a crisis.
One advantage is that repairs are possible. A scratch or small chip can often be patched and resealed more easily than a damaged stone slab, although the repaired area may not disappear completely. Our charcoal-gray pigment also hides everyday crumbs better than the white sample we nearly chose.
Would I do it again?
Yes, but I would make the forms more carefully, order extra material earlier, and budget at least one additional weekend. I would also make a full-size sink template, practice finishing a larger test panel, and choose the sealer before buying the concrete system. Those decisions would reduce uncertainty without removing the hands-on work that made the project worthwhile.
The best reason to choose diy concrete kitchen countertops is not simply saving money. It is getting a custom shape, a substantial handmade surface, and the satisfaction of seeing your own mistakes become part of the house. The best reason to skip them is a tight deadline, limited workspace, or zero tolerance for variation.
My final advice is simple: treat the project like a small construction job, not a craft afternoon. Build samples, record measurements, protect your lungs, and plan the carrying route before the concrete is mixed. Measure twice, cook once.