
The first time I needed to figure out how to remove rust from metal, I was standing in our 1994 kitchen with a screwdriver in one hand and a cabinet hinge in the other. The hinge looked like it had spent a decade in a damp basement. Megan wanted new hardware. I wanted to know whether a $2 repair could save a $14 replacement. That is how this small project landed in the renovation spreadsheet.
Rust is not automatically a reason to throw something away. Surface rust on steel screws, hinges, brackets, drawer slides, and hand tools is often removable with basic supplies. Deep pitting, flaking metal, or rust around a load-bearing connection is a different story. This guide covers the inexpensive, realistic process I used at home, including where I stopped trying to rescue a part.
Start by identifying the metal and the damage
Before choosing a cleaner, wipe the piece with a dry rag and inspect it under good light. Orange or reddish-brown dust on otherwise solid metal is usually surface rust. Bubbling, deep holes, sharp flakes, and a rough cratered texture indicate corrosion that has eaten into the material.
The metal matters. Plain steel and cast iron can usually handle mechanical scrubbing and mild acids. Chrome-plated hardware needs a lighter touch because aggressive sanding can remove the finish. Stainless steel can develop rust marks from contamination, but coarse steel wool can make the problem worse by leaving behind carbon-steel particles. Aluminum does not rust in the same way as steel and can discolor or pit when exposed to strong cleaners.
Take a quick photo before disassembly, especially if you are removing cabinet hardware. I put each hinge and screw into a labeled sandwich bag because my memory is excellent right up until the moment there are twelve nearly identical parts on the counter. If the part supports a cabinet door, shelf, or appliance, photograph its orientation too.
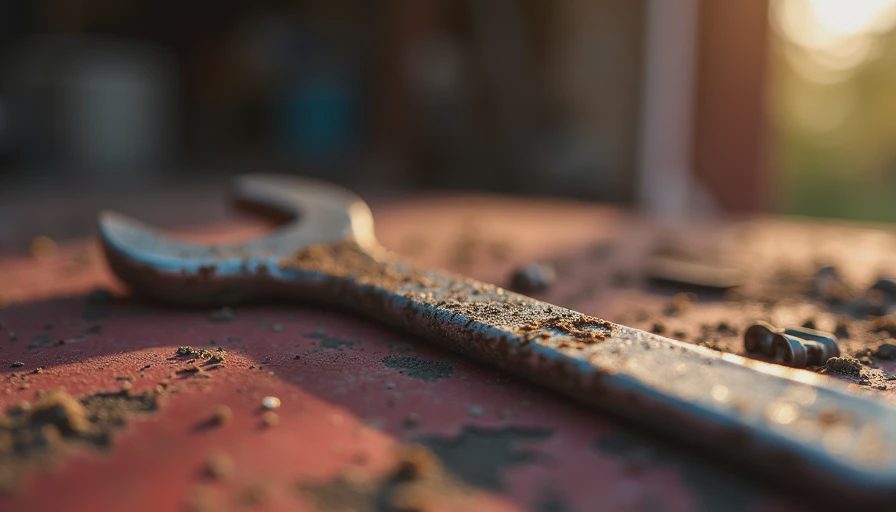
How to remove rust from metal with simple household supplies
For light rust, I start with a stiff nylon brush, a small amount of dish soap, white vinegar, baking soda, clean water, and a dry towel. Dish soap removes grease so the rust treatment can reach the metal. The vinegar contains acetic acid, which helps loosen surface rust, but it should not sit on every finish for hours.
Wash the part first and dry it. Then place plain steel pieces in a container of white vinegar for 30 minutes to several hours, checking every 30 minutes after the first hour. A small hinge may need less time than a thick bracket. When the rust softens, scrub with a nylon brush or a brass brush. Avoid mixing vinegar with bleach or other cleaners.
For a vertical part that cannot be soaked, wet a paper towel with vinegar and wrap it around the rusty area. After scrubbing, rinse thoroughly with water and dry immediately. I use a hair dryer on low for hinges and screw threads because a few trapped drops can start the cycle over again.
If a part is only lightly stained, make a paste from baking soda and a little water. Spread it on the mark, wait 15 to 20 minutes, and scrub. Baking soda is less aggressive than vinegar, so it is useful when you are nervous about damaging a thin plated surface. It is not magic; it works best on shallow staining rather than thick scale.
When scrubbing, sanding, or a rust remover makes sense
Mechanical removal is the fastest approach for flaky rust. Use a wire brush for sturdy, unpainted steel and 80- to 120-grit sandpaper for broad flat areas. Move to 220-grit paper when the surface is smooth enough to prepare for paint. Wear safety glasses and a dust mask, and work outside or over a disposable drop cloth. Rust dust is not something I want drifting onto food-preparation surfaces.
Commercial products such as Evapo-Rust and Naval Jelly are designed for different jobs, so read the label rather than treating them as interchangeable. Evapo-Rust is a soaking product that is convenient for removable hardware. Naval Jelly is a thicker gel intended for treating rust on a surface that cannot easily be submerged. Both require cleanup and protection afterward.
My kitchen test piece was a steel cabinet bracket with heavy orange scale. Vinegar removed the color but left dark pits. A wire brush followed by 120-grit paper produced a smoother result in about 25 minutes. The bracket was still visibly pitted, but it was structurally sound and hidden inside the cabinet. That was a good repair. I would not use the same standard for a decorative handle at eye level.
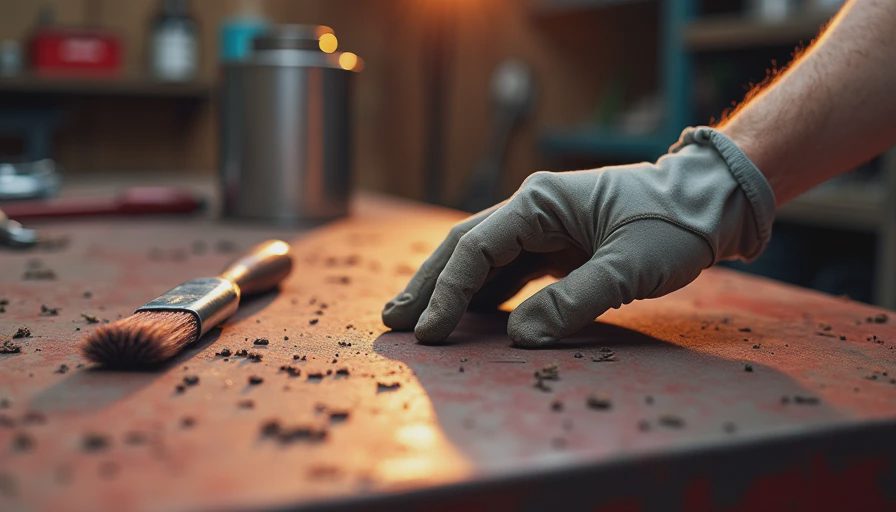
How to remove rust from metal without damaging a finish
Finish preservation changes the process. For chrome, nickel, or painted hardware, start with a microfiber cloth and a mild soap solution. If the rust is sitting on top of chrome, gently rub with aluminum foil dampened with water. Aluminum is softer than chrome and can help lift surface contamination without immediately cutting through the plating. Test an inconspicuous spot first.
Do not reach for a grinder just because it is nearby. A power tool can remove metal quickly, which is exactly the problem on thin brackets, plated handles, and small screws. On a painted item, scraping through the finish exposes fresh steel and creates a larger repair. If the coating is already failing, remove loose flakes, treat the corrosion, and repaint with a compatible metal primer.
For screws, a penetrating oil can help loosen threads before cleaning, but it is not a rust remover by itself. Let it work, then brush the threads. Replace a screw if the head is rounded, the shaft is deeply pitted, or it no longer holds firmly. Saving a 25-cent screw is not a bargain if the cabinet door falls later.
Dry, seal, and prevent the rust from returning
The most commonly skipped part of rust repair is protection. Once the metal is clean, rinse away vinegar, dust, or commercial residue. Dry it completely, then wipe bare steel with a thin coat of paste wax, mineral oil, or a product made for metal protection. Keep oil away from surfaces that touch food and away from areas that will be painted.
For hardware exposed to moisture, use a metal primer followed by enamel paint. A small spray can often costs $7 to $12, while a brush-on primer may cost around $10. Apply several light coats rather than one heavy coat, and allow the drying time printed on the label. Reinstalling a part while the coating is soft creates fingerprints, chips, and a fresh excuse to update the spreadsheet.
Look for the reason the rust started. A leaking sink supply line, damp cabinet floor, wet dish towels, or condensation around a dishwasher can keep sending moisture to the same spot. In our kitchen, a slow leak at the disposal flange had been wetting the cabinet bracket below it. Cleaning the bracket without fixing that leak would have been decorative procrastination.
When replacement is cheaper than rescue
Knowing how to remove rust from metal is useful, but not every piece deserves an afternoon. Replacement is sensible when corrosion has created deep holes, reduced the thickness of a structural part, damaged a spring, or spread underneath a plated finish. Cabinet hinges commonly cost $3 to $15 each, drawer slides often run $15 to $40 per pair, and generic steel brackets can cost under $10. Compare that with your time, abrasives, primer, and the risk of a failure.
I replaced two badly rusted drawer slides rather than cleaning them. The pair cost $28 at the hardware store, and installation took 35 minutes. I restored four cabinet hinges for less than $5 in vinegar, brushes, and primer. That split decision saved money without turning the kitchen into a museum of questionable repairs.
For a small project, my checklist is simple: photograph the part, identify the finish, remove loose rust, use the mildest effective method, rinse and dry completely, protect bare metal, and fix the moisture source. Measure twice, cook once. In this case, the phrase means knowing whether you are repairing a part or merely postponing its replacement.