A DIY kitchen backsplash sounded like the perfect contained project for our 1994 kitchen: enough visual impact to matter, but small enough that I could finish it between work meetings and family obligations. The old almond laminate had survived nearly three decades, and it showed. I wanted something cleaner without spending several thousand dollars on a contractor. Our finished project cost $412.18, took one long Saturday plus several shorter evenings, and included one mistake I would happily avoid next time.
Why We Chose Tile Instead of a Peel-and-Stick Shortcut
Our first idea was peel-and-stick tile. It was inexpensive, fast, and available in patterns that looked convincing from six feet away. The problem was our wall. It had a few uneven patches, a slightly greasy area behind the range, and an outlet that was not perfectly square. Peel-and-stick products need a smooth, clean surface to stay flat, so I did not trust the adhesive over those imperfections.
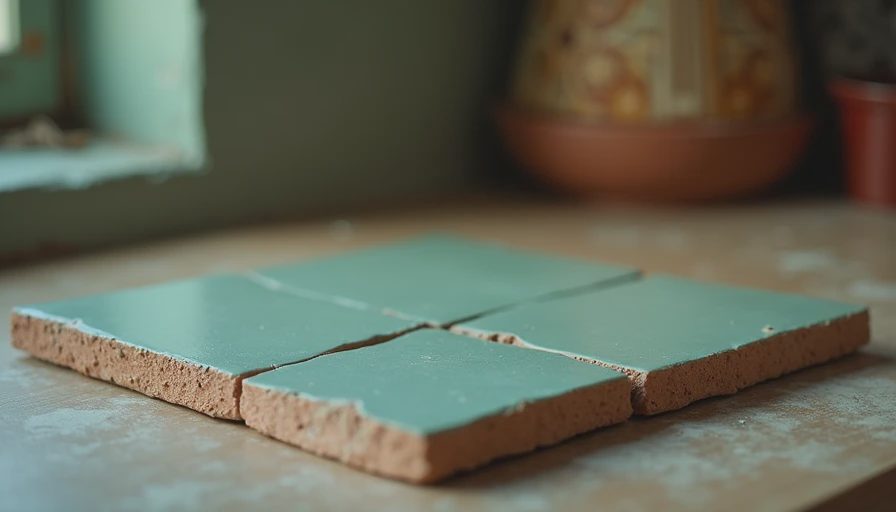
We chose a simple 3-by-12-inch ceramic subway tile from a local home improvement store. The tile itself cost $168, including about 15 percent extra for cuts and future repairs. White grout added $28, thin-set mortar was $19, and a basic metal edge trim cost $31. The rest went to tools and surface preparation. If you already own a level, tile spacers, a notched trowel, and a wet saw, your total could be closer to $225. Renting a wet saw for a day cost us $52 instead of buying a $300 model.
The design decision was deliberately boring. A straight stack pattern creates fewer complicated cuts than a herringbone layout, and white tile with medium-gray grout hides everyday cooking splatter better than bright white grout. I considered using a contrasting blue tile, but matching the existing gray counters felt safer. This was a renovation, not a personality test.
Our DIY Kitchen Backsplash Budget, Line by Line
Here is the version of the spreadsheet that mattered after the receipts were entered:
Tile: $168.40
Thin-set mortar: $19.26
Premixed grout: $28.74
Metal edge trim: $31.18
Backer-board patch material and primer: $34.62
Spacers, mixing bucket, sponge, and caulk: $46.77
Wet-saw rental: $52.00
Total: $380.97 before tax, or $412.18 after Utah sales tax.
I originally budgeted $300 because I forgot how quickly small supplies accumulate. The $8 sponge, $11 grout float, and $14 tube of kitchen-rated caulk were not dramatic purchases individually, but together they pushed the budget higher. That is the part of a DIY kitchen backsplash estimate that online inspiration photos tend to leave out. The tile is visible; the disposable tools are not.
If your project covers a larger wall, order everything from the same batch when possible. Ceramic tile can have slight color differences between production runs. For our 28-square-foot area, two boxes covered the wall and the extra pieces gave me room to make mistakes. I used nine spare tiles before the job was complete. That number alone justified buying extra material.
Surface Preparation Took Longer Than Setting Tile
Removing the old backsplash took about 90 minutes. The laminate pulled away cleanly in some places and brought small bits of drywall paper with it in others. I scraped away loose material, filled shallow dents with patching compound, and sanded the wall smooth. Behind the range, I used a degreaser twice because the first pass still left a slightly sticky film.
This step is not exciting, but it controls the final result. Tile can cover an ugly wall, but it cannot correct a wall that is loose, dusty, or noticeably wavy. I also removed the outlet covers and shut off power before working around the electrical boxes. The outlets themselves stayed in place, but the existing screws were too short after the tile went on. Longer electrical box screws fixed that issue for less than $4.
Before mixing mortar, I dry-laid the first row on the counter. The countertop was not perfectly level, so I did not use it as my only reference. Instead, I marked a level line above the counter and supported the first row with a temporary straight board. That prevented the tile from slowly drifting downward across the wall. Measure twice, cook once, especially when the wall meets a countertop you cannot easily move.
The Part We Got Wrong
Our biggest DIY kitchen backsplash mistake happened at the left corner. I started setting tiles from the most visible section because I wanted to see progress quickly. That left a narrow 1-inch gap at the corner. A full tile would not fit, and the skinny cut looked awkward beside the cabinet.
The fix was not complicated, but it cost almost two hours. I removed six tiles while the mortar was still workable, shifted the layout, and made the corner cut wider. The final layout used nearly equal pieces at both ends instead of one full tile and one sliver. Starting at the center of the main wall would have exposed that problem before mortar touched anything.
I also underestimated how long cutting around outlets would take. The wet saw handled straight cuts well, but U-shaped notches required several careful passes. I practiced on a spare tile first. One chipped tile is cheap; one rushed cut near the center of the wall can make the whole project look homemade in the wrong way.
A Practical Weekend Schedule
For a small DIY kitchen backsplash, preparation should happen before the weekend begins. On Thursday night, measure the wall in separate rectangles and calculate square footage. On Friday, buy tile, mortar, grout, trim, caulk, and replacement outlet screws. Open every box and look for cracked or visibly different tiles.
Saturday morning is for removing the old material and repairing the wall. After lunch, dry-lay the tile, mix a small batch of mortar, and set the first section. Work in areas you can cover within about 15 minutes. Mortar that skins over will not bond reliably, so a smaller batch is better than trying to move quickly with a large one.
Sunday morning, remove spacers and apply grout. We waited according to the mortar instructions before grouting, then used a damp sponge to clean the tile faces. Do not flood the joints with water; that can weaken the grout at the surface. The final step was a bead of kitchen and bath caulk where the tile met the countertop and inside corners. Caulk handles small movement better than rigid grout in those locations.
Is a DIY Kitchen Backsplash Worth It?
For us, yes. The finished wall made the cabinets look less dated, and the $412 total left money for a new faucet and under-cabinet lighting. A contractor quote would have included valuable expertise, but the quoted labor alone was more than our entire materials budget. We accepted that the trade-off was time, cleanup, and the possibility of redoing a section.
A DIY kitchen backsplash makes sense when the wall is accessible, the design is straightforward, and you can tolerate learning as you go. It is a poor candidate for a rushed evening project, complicated stone mosaics, or a wall with serious moisture damage. If the substrate is crumbling, plumbing is hidden behind the work area, or electrical changes are needed, bring in a qualified professional.
Our final lesson is not to chase the cheapest tile. Buy the material that gives you a manageable layout, budget for tools, and spend more time planning than you think you need. The backsplash is only a few dozen square feet, but every crooked line is visible from the kitchen table. A careful DIY kitchen backsplash can deliver a real before-and-after change without turning the renovation into a second mortgage.