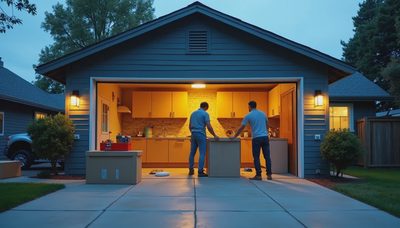
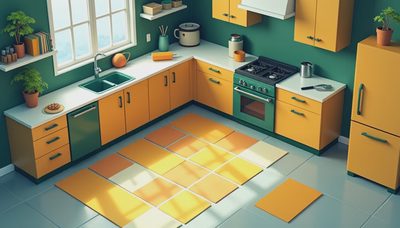
When Megan and I started researching DIY kitchen countertops for our 1994 suburban kitchen, I assumed the countertop would be the easy part. Remove the almond laminate, cut a new slab, attach it, and celebrate with pizza. That was the roadmap in my head. The actual roadmap included three hardware-store trips, one incorrect measurement, and a Saturday spent rebuilding a cabinet corner.
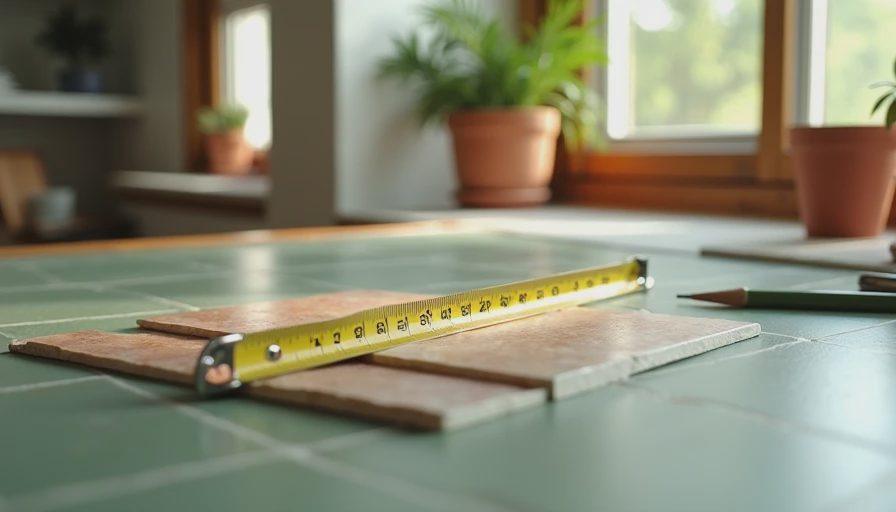
The good news is that doing the work ourselves saved real money. The less exciting news is that countertops are not forgiving. A cabinet that is 1/8 inch out of square can turn a clean installation into a visible gap. Measure twice, cook once became more than a slogan in our renovation notebook.
Choosing a countertop material without falling for the showroom
Our first decision was material. Quartz looked excellent and required little maintenance, but professionally installed quartz quotes were roughly $3,500 to $5,000 for our kitchen. That was outside the portion of our budget assigned to the project. We also considered butcher block from IKEA and a local lumber supplier, but we did not want to maintain a food-safe finish every few months around the sink.
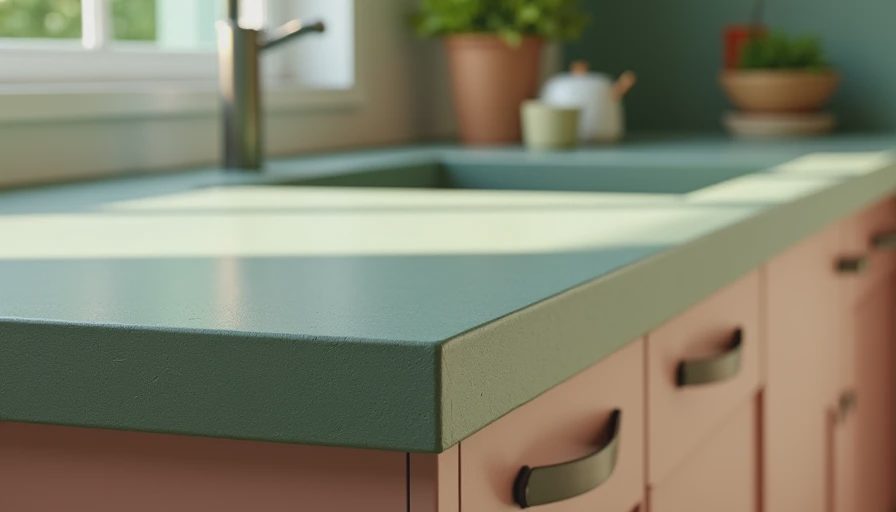
We finally chose a post-formed laminate countertop from a home improvement store. The pattern we liked had a soft gray stone appearance instead of trying to imitate dramatic marble. The two 8-foot sections cost $438 before tax, including the factory-finished front edge. It was not the most luxurious option, but it matched our mid-budget goal and did not require specialized fabrication.
For most DIY kitchen countertops, laminate is the friendliest starting point because standard sections are available, the tools are familiar, and small mistakes are easier to hide. Butcher block is workable if you are comfortable routing, sanding, sealing, and trimming around an undermount or drop-in sink. Tile can be inexpensive, although grout lines create a cleaning chore that we decided not to add to our already crowded kitchen.
The measurements that determine whether the project works
Before buying anything, I measured every cabinet run from the wall to the exposed end panel. Then I measured again after removing the old top. Those numbers did not match. The original countertop had been scribed against a wall that was not straight, so copying its dimensions would have transferred the problem to the new material.
We used a 4-foot level, a steel tape, a framing square, and a long straightedge. I marked the wall at several points and found the backsplash area varied by nearly 3/8 inch across the range. That is not a crisis, but it does mean the back edge needs careful scribing rather than a blind, perfectly straight cut.
A useful check is to measure the cabinet depth at the front, middle, and back. Standard counters often provide about 1 1/2 inches of overhang beyond a 24-inch cabinet box, but walls and end panels can change that result. Also mark the sink opening from the actual sink template, not from a product photo or a guess. Our sink was slightly offset because of a drawer, and missing that detail would have put the basin directly over the wrong cabinet space.
Tools and installation steps we actually used
The basic tool list was manageable: a circular saw with a fine-tooth blade, drill, jigsaw, clamps, level, square, caulk gun, file, and a sharp utility knife. I bought a new blade for about $18 and used painter's tape over the cut line to reduce chipping. A track saw would have made the long cuts cleaner, but renting one was not necessary for our layout.
We removed the old top carefully, keeping the screws in a labeled bag. After dry-fitting the new sections, I scribed the back edge with a compass and cut just outside the line. The first pass left a tight spot, so I trimmed it gradually with a block plane and file. That slow approach took longer than making one aggressive cut, but it kept the wall side hidden beneath the backsplash.
The sink cutout required the most concentration. I drilled starter holes inside the corners, supported the waste section with scrap wood, and made the opening with the jigsaw. The support mattered; without it, the cutout could have broken away and damaged the laminate surface. We sealed the sink rim according to its instructions and applied a thin bead of kitchen-and-bath silicone where the counter met the wall.
What DIY kitchen countertops cost in our spreadsheet
Our total was $812 before tax and included the countertop sections, new sink, faucet, adhesive, silicone, replacement blades, shims, and a few trim pieces. The countertop itself was $438. The sink was $129, the faucet was $96, and consumables added about $70. We already owned the drill and saw, which is an important part of the comparison.
A homeowner starting from zero could spend another $150 to $300 on tools, depending on whether a saw, clamps, and level are already available. Professional installation would have added a substantial labor charge, especially because our old cabinets needed leveling and the sink opening was not a simple replacement.
The finished result was not free. It also was not the $4,000 project shown in the quartz showroom. For DIY kitchen countertops, the realistic saving comes from combining a practical material with an uncomplicated layout. Every inside corner, seam, and unusual sink shape raises the risk and the labor.
Mistakes, delays, and the parts I would change
My biggest mistake was assuming the wall behind the range was straight because it looked straight. It was not. I initially cut the rear edge too conservatively, then had to make a second pass while the counter was balanced on sawhorses. The correction worked, but it added nearly two hours and made me nervous around a $438 piece of material.
I also underestimated cleanup. Laminate dust got into the cabinet hardware and settled on the floor despite plastic sheeting. We lost one evening reinstalling drawers, reconnecting the dishwasher, and finding a small leak at the sink drain. No disaster occurred, but the kitchen was unavailable for about four days instead of the planned weekend.
If I repeated the project, I would remove the faucet and sink plumbing earlier, photograph every connection, and make a cardboard template before touching the actual counter. I would also schedule the sink installation for a separate morning instead of treating it as the last item on a long Saturday.
Is this a sensible weekend project?
DIY kitchen countertops make sense when the run is straight, the cabinets are stable, and the material comes in a manageable size. They become a poor first project when you have multiple seams, an irregular stone slab, waterfall edges, or cabinets that are not level. Those situations can justify hiring a fabricator while handling demolition and cabinet preparation yourself.
Our result has a seam near the corner that I can see when I look for it. Guests have not noticed it, and the surface has held up through school lunches, sourdough experiments, and more coffee spills than I want to document. That is a successful renovation by our household's standards.
Set aside more time than the tutorial promises, protect the finished surface, and treat measurements as a process rather than a single number. DIY kitchen countertops rewarded patience much more than confidence. If your layout is straightforward and your budget has a firm ceiling, this can be a satisfying way to save hundreds or even thousands of dollars. Just keep the notebook nearby, keep the receipts, and measure twice before you cook once.