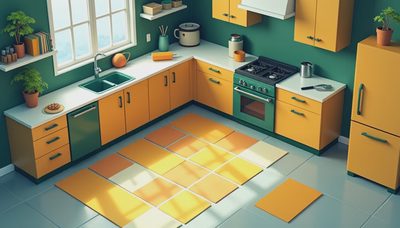
Kitchen cabinet hardware was one of the last decisions I expected to care about during our renovation. I was focused on cabinet paint, butcher block, and the 1994 almond-colored appliances staring me down every morning. Then I realized that kitchen cabinet hardware is what we touch dozens of times a day. It needs to feel good, fit correctly, survive kids, and look intentional without consuming the budget.
Our 180-square-foot Salt Lake City kitchen had 23 doors and 11 drawers. We spent $286.74 on knobs, pulls, screws, and one replacement pull after I drilled a hole in the wrong place. That total was neither the cheapest route nor a designer showroom number. It was the middle-ground decision that fit our family and our spreadsheet.
Our Real Hardware Budget
The first version of my budget listed $180 for kitchen cabinet hardware because I had seen inexpensive multipacks online. That number ignored backplates, longer screws, shipping, samples, and the inevitable odd-size drawer. The revised budget was $325, which gave us enough room to make mistakes without turning a small decision into a renovation crisis.
We chose 12 brushed nickel bar pulls at $7.99 each for the larger drawers and doors, 18 smaller pulls at $5.49 each, and four simple round knobs at $3.25 each. A $22 installation template, $14 assortment of screws, and local sales tax brought the total close to our actual $286.74. The template felt ridiculous until the third drawer. After that, it became the best $22 purchase in the room.
For comparison, a full set of kitchen cabinet hardware can run from about $100 for basic bulk packs to more than $1,000 for solid brass or specialty pieces. Brands such as Amerock, Liberty, and Hickory Hardware cover a useful middle range. We did not need luxury hardware, but we also did not want hollow-feeling pulls that bent when Charlie opened a stubborn drawer.

Choosing a Style Without Chasing Trends
Our original cabinets were plain maple with a heavy honey finish. After painting them a soft warm white, I tested matte black, brass, and brushed nickel kitchen cabinet hardware on a scrap door. The black looked sharp in photographs but felt too high-contrast in our darker kitchen. Polished brass looked great beside the sample quartz, then started to feel like a separate design project.
Brushed nickel won because it worked with the stainless refrigerator, existing faucet, and gray floor tile. More importantly, Megan liked it immediately. That became our practical rule: if a finish requires three explanations, it probably is not the right finish for a busy family kitchen.
Mixing knobs and pulls also helped control the look. We used pulls on drawers and the tall pantry doors, with knobs on the smaller upper cabinets. The arrangement gives each cabinet a visual cue and avoids making every surface look like it has a tiny handle attached. You can use all pulls or all knobs; consistency in spacing matters more than following a universal design rule.
Measuring Before Drilling
Measure twice, cook once. I wrote that in the renovation notebook after the replacement-pull incident, although the original version included less printable language.
For each door, we measured the stile width, door rail, and available clearance behind the handle. For drawers, we checked that the pull would not collide with the adjacent drawer when both opened. Standard center-to-center sizes include 3, 3 3/4, and 5 inches, but a “standard” size is not automatically correct for your cabinet layout.
The biggest mistake was assuming that a pull’s listed length was the same as its mounting measurement. It is not. The center-to-center measurement is the distance between screw holes. A 5-inch pull can be longer overall, so I taped paper templates to several doors before ordering. That ten-minute test prevented a crowded corner near the refrigerator.
If you are replacing existing kitchen cabinet hardware, measure the current screw-hole spacing first. Reusing those holes is much easier than filling, sanding, repainting, and redrilling a cabinet door. If the existing spacing looks awkward, decide whether the visual improvement is worth the extra repair work.
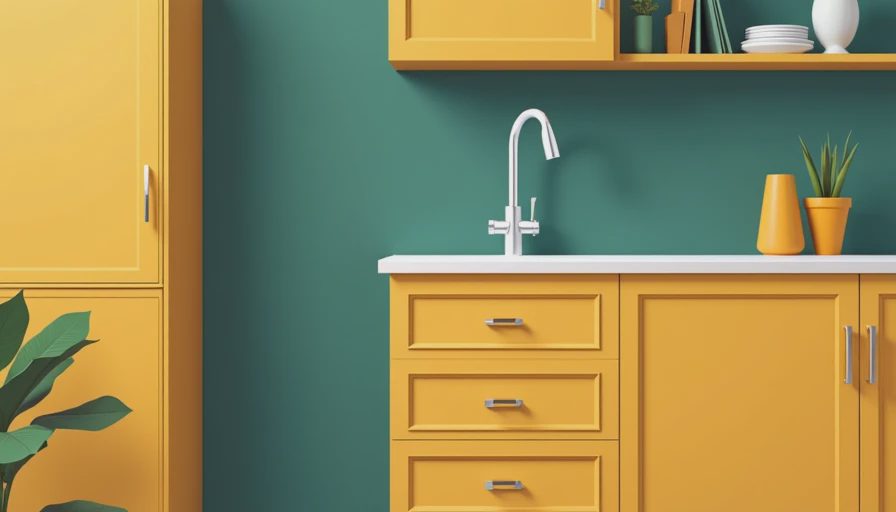
Installation: The Part That Took Longer Than Planned
I estimated two hours for installation. The actual time was nearly five, spread across a Saturday morning and a Sunday afternoon. The drilling itself was quick. Finding the center of each door, checking alignment, and cleaning sawdust from freshly painted surfaces took most of the time.
I marked every cabinet on a printed layout, then made a cardboard template from a cereal box. The commercial template was more accurate, but the cardboard version helped me test handle height. On upper doors, we placed pulls closer to the bottom corner; on base doors, closer to the top corner. Drawers received centered pulls except for the wide trash drawer, where two pulls made opening it easier.
Use a sharp bit, drill from the finished face, and place painter’s tape over the mark to reduce chipping. Keep a scrap board behind the door when drilling. I skipped that last step once and blew out a small section on the back of a drawer front. Nobody sees it, but I know it is there, which is how renovation ghosts work.
The screws included with one set were too short for our thick drawer fronts. A local hardware store had replacements for less than $10. Check screw length before installation day; kitchen cabinet hardware is not useful when it is sitting in a box waiting for a second shopping trip.
What Held Up After Six Months
Six months later, the brushed nickel finish still looks consistent. The frequently used trash drawer has loosened twice, so I added a small amount of removable threadlocker to the screw threads. The pulls have survived wet hands, greasy fingers, and Emma hanging on one while trying to reach a snack. That last behavior was not part of the testing plan.
The inexpensive knobs on the upper cabinets have been fine because those doors are opened lightly. The larger pulls were worth spending more on because they receive more force. This was a better use of money than buying the same premium piece for every cabinet.
The finish also hides fingerprints better than the black sample did. That sounds minor until you wipe cabinet hardware every evening and notice whether the cloth comes away clean or covered in visible smears. Small practical details become large after the hundredth repetition.
What I Would Buy Next Time
I would order samples earlier, confirm center-to-center measurements twice, and buy one extra piece before installation. I would also choose slightly longer pulls for the wide drawers. Our 5-inch pulls work, but 6-inch pulls would have made those drawers easier to open with one hand while carrying a hot pan.
I would not spend more simply for a recognizable designer label. Solid construction, comfortable edges, accurate measurements, and a finish that works with the rest of the room matter more than a logo. Before ordering, put every shortlisted piece into the budget alongside tax and shipping. A $6 pull can become a $10 pull after small-order shipping, and multiplying that difference by 30 adds up quickly.
For our renovation, kitchen cabinet hardware delivered one of the clearest visual improvements per dollar. The room still has uneven drywall and a refrigerator that hums like an old server, but the cabinets feel finished when we open them. Start with samples, make a cardboard template, and leave money for replacement screws. The spreadsheet says the best decision was not the fanciest hardware; it was the hardware we could install correctly and live with every day.