
When I started figuring out how to clean baseboards, I assumed the job required a bucket, a toothbrush, and the patience of a saint. In reality, the hardest part was letting the dust build up until the trim looked gray against our freshly painted walls. Our 1994 kitchen has almond-colored baseboards, textured drywall, two children, and the usual collection of crumbs that seem to travel farther than the people eating them. After a few failed attempts, I built a routine that takes about 20 minutes per room.
The basic process is simple: remove dry dust first, use a barely damp cleaner second, and dry the trim before moving on. That order matters. If you start with a wet rag, you turn loose dust into a muddy stripe along the wall. I learned this beside the refrigerator, where the baseboard ended up looking worse after I cleaned it. Measure twice, cook once; in this case, vacuum twice and mop once.
What You Need Before You Start
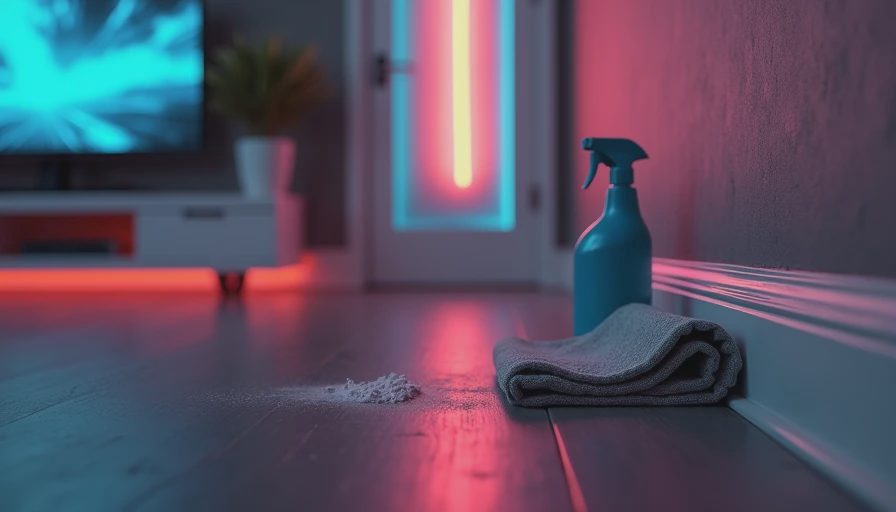
You do not need a specialty cleaning kit. I use a vacuum with a brush attachment, a microfiber cloth, a small bucket, warm water, and a few drops of mild dish soap. A soft detailing brush or old clean toothbrush helps around corners, door casings, and the narrow groove where the top edge of the baseboard meets the wall. For painted trim, avoid abrasive scrub pads because they can dull the finish or remove paint from high-contact areas.
I also keep a dry cotton swab nearby for tight corners and a clean towel for drying. The whole setup costs roughly $10 to $25 if you already own a vacuum. A commercial spray cleaner is optional, not essential. Strong products can leave a shiny residue that attracts more dust, especially on satin-painted trim. If you are learning how to clean baseboards in a rental or older house, test any cleaner in a hidden spot first.
Start by moving small furniture, baskets, and floor mats away from the wall. You do not need to empty the room. A three-foot working path is enough, and protecting the floor with an old towel is useful near carpet edges or wood flooring.
Step One: Remove Dust and Hair Completely
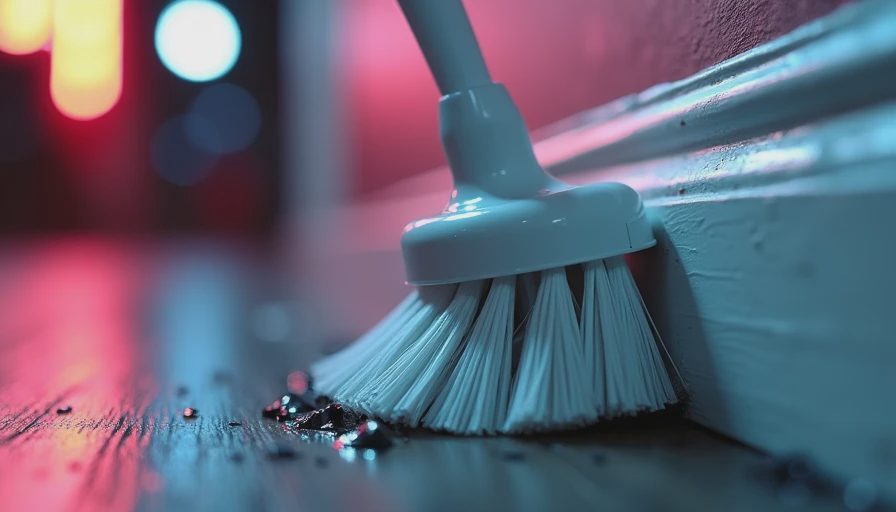
Set the vacuum to a lower suction setting if it has one, then run the brush attachment along the top ledge of the baseboard. Work from one end of the wall to the other instead of jumping between rooms. I make one slow pass across the top, one pass over the front face, and a final pass along the floor line. That last strip is where pet hair, cereal crumbs, and mystery fibers collect.
Use the soft brush attachment around electrical outlets, but do not force it into the outlet itself. For stubborn dust on detailed trim, loosen it with a dry paintbrush and vacuum immediately. A microfiber duster also works, although I prefer vacuuming in the kitchen because dry crumbs otherwise land under the cabinets.
This stage is where most of the visible improvement happens. On our hallway baseboards, the top edge looked two shades darker before vacuuming. Once the loose dirt was gone, I needed much less moisture and almost no scrubbing. If the trim has heavy grease near a stove, do not skip this step. Grease mixed with dust creates the sticky film that makes how to clean baseboards searches feel more complicated than they should.
Step Two: Wash Painted Baseboards Carefully
Fill a bucket with warm water and add about a teaspoon of mild dish soap. The water should feel lightly soapy, not like a bubble bath. Dip a microfiber cloth into the mixture, wring it out hard, and wipe a small section of baseboard. The cloth should be damp rather than dripping. Excess water can seep into seams, swell some wood products, or leave marks on the wall above.
For normal dust and fingerprints, one pass is enough. For kitchen grease, let the damp cloth sit on the spot for 10 to 20 seconds, then wipe gently. Do not attack the mark with pressure immediately. Softening it first protects the paint. Rinse the cloth often so you are not spreading gray water down the wall.
I clean in sections about three feet wide. After each section, I follow with a dry towel. This makes it easy to see whether the remaining mark is dirt or damaged paint. If a baseboard still looks discolored after cleaning, repainting may be the honest answer. Cleaning cannot restore paint that has yellowed, chipped, or absorbed years of grease.
How to Handle Scuffs, Corners, and Difficult Spots
Black shoe marks usually respond to a damp microfiber cloth and gentle circular motion. If that fails, try a melamine sponge with very light pressure on a small test area. Those sponges are mildly abrasive, so they can create a dull patch on semi-gloss paint. I would rather leave one faint scuff than make a bright rectangle where I scrubbed too aggressively.
For corners, wrap the microfiber cloth around a butter knife with a rounded edge, keeping your pressure light. Never push a sharp tool into the joint. A soft toothbrush works better for decorative profiles and the short return piece beside a door frame. Wipe along the grain if the baseboard is stained wood, and use a wood-safe cleaner rather than dish soap unless the manufacturer permits it.
If caulk along the top edge is cracked or separating, cleaning will not fix the line. Wipe it gently, let it dry, and add repair work to a separate weekend list. Trying to scrub a loose caulk bead can make the gap larger.
A Faster Room-by-Room Routine
My current version of how to clean baseboards follows a repeatable order. First, I vacuum the entire room, including the top ledge and floor line. Second, I wash the dirtiest areas near the kitchen work zone, doors, and bathroom entrances. Third, I wipe the remaining trim with a nearly dry cloth. Finally, I inspect the wall from standing height, because tiny smudges often disappear when viewed up close but show clearly from across the room.
For a normal bedroom, this takes 10 to 15 minutes. Our kitchen takes closer to 25 minutes because the baseboards under the sink and beside the range collect more grime. A whole-house deep clean took me about two hours, including moving furniture. I now maintain high-traffic rooms every four to six weeks and less-used rooms once each season.
The maintenance version is even easier: run the vacuum brush along the trim during normal floor cleaning, then wipe visible fingerprints that same day. Five minutes now beats an hour of concentrated scrubbing later.
Mistakes I Would Avoid Next Time
The first mistake was using an all-purpose cleaner directly from the spray bottle. It left a damp stripe and forced me to wipe the wall twice. Spray the cloth instead if you need a stronger product. The second mistake was using a rough sponge on a painted corner. It removed some sheen and created a repair job larger than the original scuff.
I also learned not to clean baseboards immediately after mopping. Splashing floor water creates a dirty paste along the bottom edge. Let the floor dry, vacuum the trim, and then wash it separately. Finally, do not promise yourself you will finish the entire house in one heroic Saturday. Divide the work by room, write the date in your renovation notebook, and stop before your back starts negotiating with you.
Knowing how to clean baseboards is less about buying the perfect product and more about using the right sequence. Dry removal first, controlled moisture second, gentle spot treatment third, and regular maintenance last. That approach keeps painted trim cleaner without turning a small household task into another renovation sprint.