
The first time I looked closely at the grout in our 1994 kitchen, I was convinced we needed new tile. From standing height, the floor looked merely dated. From the knees, it looked like a map of every spilled coffee, muddy shoe, and forgotten dinner from the previous decade. Learning how to clean grout lines saved us from adding another expensive project to the renovation spreadsheet. It did not make the almond tile beautiful, but it made the room look cared for again.
This is the method I used in our 180-square-foot kitchen, with products bought at a hardware store and a Saturday afternoon available. The total cost was about $32: a stiff nylon grout brush, oxygen-based cleaner, rubber gloves, microfiber cloths, and a small bucket. You do not need a steam machine or a cabinet full of specialty sprays to get a noticeable improvement.
Start by identifying the grout and the dirt
Before applying anything, figure out what you are cleaning. Most kitchen floor grout is cement-based and slightly porous. Epoxy grout is more resistant to stains and usually appears smoother, but it still collects grease and soil along its surface. If you are unsure, look at the installation paperwork or test an inconspicuous corner. Do not begin with an aggressive acid cleaner just because the grout looks dark.
The dark line can be ordinary tracked-in dirt, cooking grease, mildew, or permanently stained grout. Those problems respond differently. Dirt often lightens after one careful pass. Grease needs a degreasing cleaner and more dwell time. Mold or mildew requires attention to moisture, ventilation, and the source of the water. A deep stain that does not change after cleaning may be discoloration inside the grout rather than removable grime.
Vacuum or sweep first. Tiny bits of sand turn into abrasive paste when mixed with cleaner, and that paste can scratch glossy tile. I also removed the refrigerator kick plate and swept beneath it, where a surprising amount of flour and dog hair had gathered. Cleaning around debris is how a simple job becomes a muddy chore.
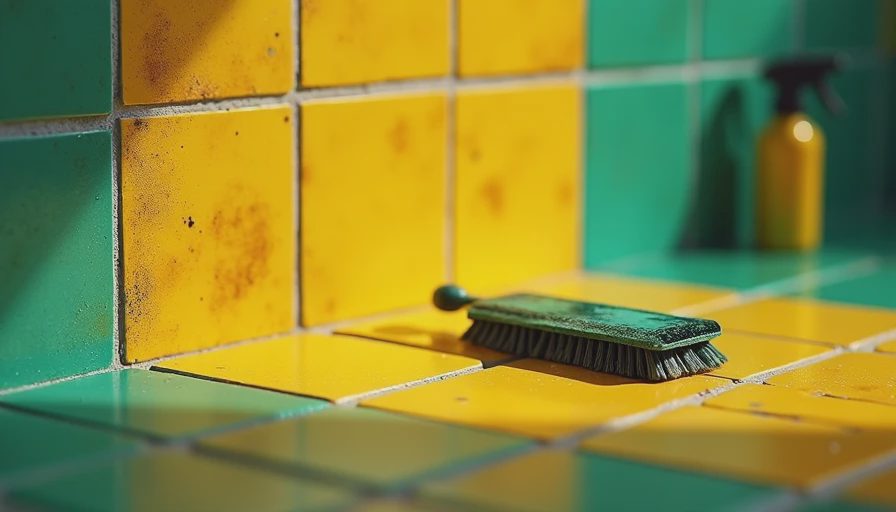
How to clean grout lines with a controlled wet method
My process for how to clean grout lines is deliberately boring. Boring is good when the material is attached to the floor.
- Mix an oxygen-based cleaner according to the package directions. I used a powdered cleaner rather than chlorine bleach because I wanted less odor and a product suitable for general household cleaning. Never mix cleaners, especially bleach with ammonia or acidic products.
- Test the solution behind an appliance or in a corner. Leave it for several minutes, then wipe and inspect the tile and grout for color changes.
- Work in a small section, about three feet by three feet. Apply enough solution to keep the grout damp, but do not flood the floor or let liquid sit against wood cabinets.
- Let the cleaner dwell for five to ten minutes. This is the part where I wanted to scrub immediately, but contact time did more work than extra force.
- Agitate with a narrow nylon grout brush. Use short strokes along the joint instead of sweeping wildly across the tile. A toothbrush works for a small backsplash, but a proper grout brush saves your knuckles on a floor.
- Wipe up the dirty solution with a microfiber cloth, rinse the area with clean water, and dry it. Leaving cleaner residue behind can attract more dirt.
I repeated this sequence twice on the traffic lane between the sink and range. The first pass removed gray surface soil. The second lifted the sticky tan film near the trash cabinet. The grout was not new, but the difference was obvious enough that Megan stopped asking whether we should replace the floor.
What worked, what failed, and what I spent
The nylon brush was the best purchase. I initially tried a stiff old dish brush, which flexed too much and spread dirty water everywhere. A narrow brush gave me control and reached the corners where the tile edges met. I spent $8 on it, and it was more useful than the $18 handheld scrubber I bought later out of impatience.
Baking soda paste produced a mild scrub, but it was slow across a whole floor. It is reasonable for a small backsplash or a few stained spots, not my preferred solution for hundreds of linear feet of grout. Vinegar is another popular suggestion, but acidic cleaners can gradually affect cement-based grout and surrounding stone. I would not use vinegar as a default kitchen-floor treatment.
Chlorine bleach made one test patch look temporarily brighter, but the smell lingered and the improvement was less impressive after drying. I skipped it for the rest of the room. For regular maintenance, a neutral pH tile cleaner and a weekly dry sweep are safer habits than repeatedly reaching for a stronger chemical.
Our supply total landed at roughly $32, including a $6 pair of gloves and a $9 gallon of distilled water for the final rinse. The project took four hours with breaks, including moving two stools and the rolling island. A professional deep cleaning would cost more, but replacing the tile would have meant demolition, disposal, and several days without a functioning kitchen.

How to clean grout lines without damaging nearby surfaces
The tile is not the only thing at risk. Painted cabinet toe-kicks, unfinished wood, natural stone, and laminate can react badly to standing cleaner. I placed old towels along the cabinet bases and used a hand spray bottle instead of pouring solution directly onto the floor. That kept the liquid where I wanted it and prevented a brown line from forming under the cabinets.
Do not use a metal brush. It can scratch tile glaze and leave dark marks in light grout. Avoid aggressive scraping unless you are removing a specific substance such as dried paint, and even then use a plastic scraper first. If the grout is crumbling, powdery, or separating from the tile, scrubbing harder will not solve the underlying problem. That is a repair issue.
For backsplash grout, protect the countertop with a towel and keep the cleaner away from outlets. For shower grout, improve ventilation and address leaks before cleaning. A clean-looking shower that stays damp all day will not stay clean for long. In our kitchen, the real prevention step was fixing a loose dishwasher door seal that had been sending a thin ribbon of water onto the floor.
Seal it, then maintain the result
Once the grout was fully dry, I waited at least 24 hours before applying a penetrating grout sealer. Dry time matters because sealing moisture into the joint can create problems. I used a small applicator bottle with a narrow wheel, working slowly along each line and wiping excess sealer from the tile within the product's recommended time.
Sealer does not make grout stain-proof, and it does not replace cleaning. It simply gives spills more time to be wiped away. We now sweep twice a week, wipe kitchen spills the same day, and do a small wet-cleaning section every few months instead of postponing the whole floor. That schedule takes about 15 minutes at a time.
If you are planning how to clean grout lines before selling a home or starting a renovation, clean one test area first. Take a photo in the same light, let it dry completely, and compare it with the untouched section. Sometimes cleaning is enough. Sometimes the grout is permanently stained and recoloring or replacement makes more sense. Either way, you will make a better decision with evidence than with a late-night renovation spiral.
The finished floor did not become the centerpiece of our kitchen. It became quiet background instead of a daily annoyance, which was exactly the result we needed. Measure twice, cook once, and keep the strongest cleaner in the cabinet until the gentle method has had a fair chance.