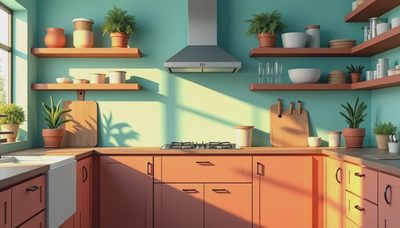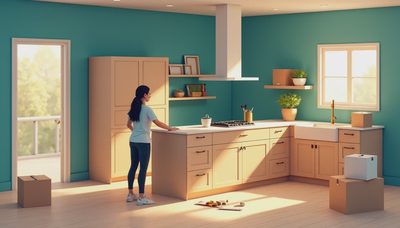
When Megan and I bought our 1994 suburban house in Salt Lake City, the kitchen had almond-colored cabinets, yellowed laminate counters, and hardware that looked like it came free with the house. We chose gray kitchen cabinets because we wanted a noticeable change without demolishing every wall. This is what the project actually cost, what went wrong, and what I would do differently now.
Our kitchen is roughly 180 square feet. It is not a magazine-sized space, and our budget was not unlimited. We had about $12,000 available, but that number had to cover paint, cabinet hardware, lighting, a new sink, countertops, and several surprises. The goal was a practical family kitchen where Charlie and Emma could eat breakfast without us worrying about every surface.
Why we chose gray instead of white
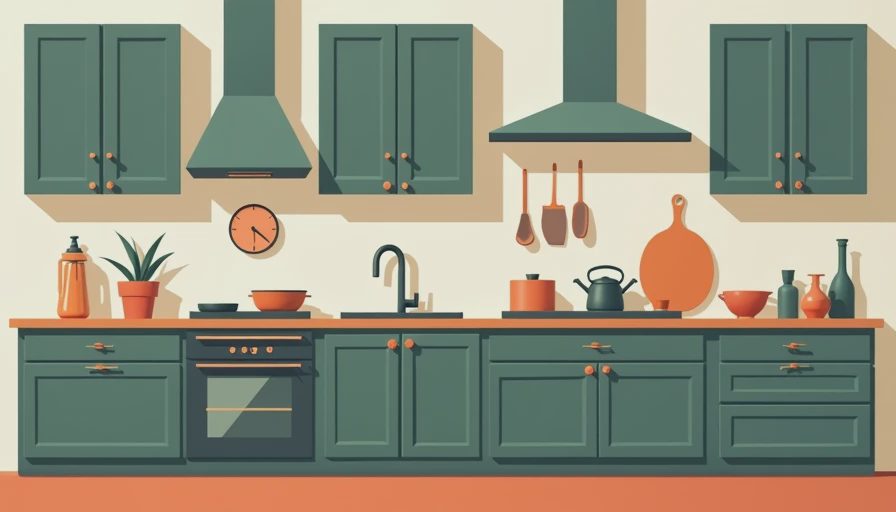
White was the obvious choice, and I understood why. It reflects light, photographs well, and works with nearly every countertop. But our kitchen already gets strong afternoon sun, and the white samples Megan brought home made the room feel a little stark beside our warm oak floor. Gray kitchen cabinets gave us a softer transition between the cool stainless-steel appliances and the honey-colored flooring.
The important part was choosing the right gray. A blue-gray looked clean on a store sample but turned noticeably cold against our flooring. A dark charcoal sample made the upper cabinets feel heavy. We settled on a medium-light greige with a warm undertone. In the morning it reads gray; under the pendant lights at night, it looks closer to putty. That flexibility mattered more than matching a trend.
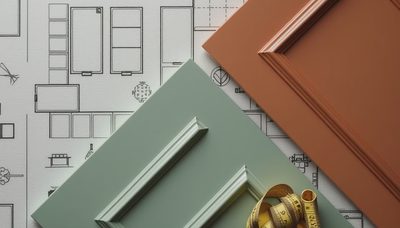
I tested six sample colors on foam boards and moved them around the room for a full week. This felt excessive until we rejected two colors that looked perfect at 2 p.m. and terrible under our 3,000K bulbs. Paint color is cheap to test and expensive to regret after two coats on twenty doors.
Our actual cabinet update budget
We kept the existing cabinet boxes, which saved the project. Replacing them would have pushed the cabinet portion alone well beyond our target. The doors and drawer fronts were solid enough, although three had swollen edges near the sink. We replaced those three rather than pretending primer could solve water damage.
The cabinet budget came to $2,146. That included $420 for a professional-grade sprayer rental, $286 for bonding primer, paint, and sanding supplies, $318 for new hinges, and $1,122 for replacement doors and drawer fronts. We paid for the doors ourselves and did not receive free products or discounts for mentioning brands.
The full renovation eventually reached $11,684. Countertops were $3,420, including installation. A single-bowl stainless sink and faucet added $612. New LED ceiling fixtures, two pendants, and electrical work came to $1,078. We spent $876 on pulls and knobs, backsplash tile, grout, and trim. The remaining amount covered patching, disposal fees, tax, and the small purchases that somehow multiply during every renovation.
The spreadsheet lesson was simple: a $14 brush or $28 box of screws is not financially important by itself, but twenty small purchases can erase your contingency. We reserved 15 percent for surprises and used almost all of it.
The painting process was the hard part
Painting gray kitchen cabinets is often presented as a relaxing weekend project. That was not our experience. We removed every door, labeled each hinge location with painter's tape, degreased the surfaces, scuffed them, filled old holes, and repeated the cleaning step. The first Saturday disappeared before a single door had received primer.
I used a waterborne bonding primer followed by two sprayed coats of cabinet enamel. The boxes were brushed and rolled in place because removing them would have damaged the backsplash and flooring. That difference is visible if you stand close, but the finish looks consistent from normal kitchen distance.
Drying time became the schedule. We created a temporary kitchen in the dining room with the microwave, coffee maker, and a plastic folding table. For twelve days, dinner meant an electric skillet, sandwiches, or takeout. The kids thought this was a vacation. Megan and I did not.
My biggest mistake was reinstalling four doors before the paint had fully hardened. The hinges left tiny marks along the edges. I had to sand those spots, repaint them, and wait another two days. Measure twice, cook once, and apparently let the paint cure twice.
Hardware and counters changed the result
The cabinet color did not do all the work. We selected simple brushed nickel pulls with a 5-inch center-to-center measurement and used matching knobs on the upper doors. I chose based on price at first, then realized cheap hardware felt loose and sharp. The final set cost more than planned, but the drawers open smoothly and the finish has held up through daily use.
For counters, we compared laminate, butcher block, and quartz. Butcher block was appealing at roughly $1,700 in our quotes, but the sink area made maintenance feel like another weekly chore. We chose a modest white quartz with small gray movement. It is not the most dramatic surface, but it hides crumbs better than the dark sample we initially liked and works with the warm cabinet color.
Our gray kitchen cabinets look best because the other finishes are restrained. We did not add patterned backsplash tile, brass lighting, and colorful counters all at once. The room has enough activity from cereal spills and homework papers already.

What we would change next time
First, I would order replacement doors before starting demolition. Three weeks of lead time turned into nearly six when one door arrived with the wrong hinge bore. That delay left a cardboard panel covering the sink cabinet and made the unfinished room feel worse than it needed to.
Second, I would hire out the spraying if the quote were under $1,500. Our rental equipment and materials were not cheap, and the labor took four long weekends. A professional quote we received was $2,300, so we saved money, but not as much as I expected once my time was included. DIY is worthwhile when you enjoy the process or need the cash savings; it is not automatically the cheaper emotional option.
Third, I would replace the old under-cabinet lighting before painting. We installed new lights afterward and had to drill through freshly finished surfaces. Nothing catastrophic happened, but the sequence was backward. Electrical planning belongs before cosmetic work.
Are gray kitchen cabinets practical for a family?
After eight months, the answer for us is yes. Dust shows less dramatically than it did on the old dark test color, and ordinary fingerprints disappear once wiped with a damp microfiber cloth. The paint has held up around the dishwasher and trash pullout, although we touch up one small corner near the sink every few months.
The color also gives us room to change accessories. A wood cutting board warms it up, black appliances would create more contrast, and blue or green towels do not fight the background. That flexibility matters in a room that needs to survive several years of changing tastes.
If your kitchen has low natural light, test samples on multiple walls before committing. If the floor is orange-toned, avoid a strongly blue gray. If you cook heavily, spend more attention on surface preparation and paint durability than on the exact color name. Gray kitchen cabinets are not a shortcut around prep work; they are simply one finish choice in a much larger system.
Our final takeaway is less glamorous than a before-and-after reveal: keep the boxes if they are sound, budget for labor even when doing the work yourself, and leave a real contingency. The finished kitchen feels calmer, but the spreadsheet tells the more useful story. Start with measurements, collect three quotes for the work you cannot confidently do, and buy sample paint before buying twenty gallons. That approach saved us more than any clever design trick.