When we started planning our kitchen renovation, two tone kitchen cabinets looked like a smart way to make our 1994 kitchen feel intentional instead of merely less almond-colored. I liked the contrast between a lighter upper cabinet and a darker island. Megan liked that the island could look like furniture. The kids mostly wanted to know whether we could still make grilled cheese during construction.
We had about $18,000 available, which sounds generous until you price cabinets, countertops, appliances, lighting, flooring, and the small parts nobody puts in the pretty online photos. This is what we learned after measuring, ordering, painting, installing, and correcting several avoidable mistakes.
Why We Chose Two Cabinet Colors
Our kitchen is roughly 180 square feet, with a long run of cabinets along the wall and a 7-foot island in the middle. Using one dark color everywhere felt heavy, especially because the room gets limited morning light. Using white everywhere seemed safer, but also a little too close to the bright, generic renovation look we were trying to avoid.
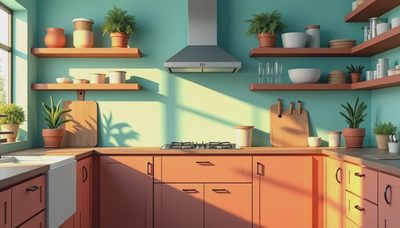
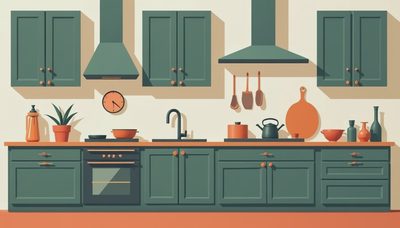
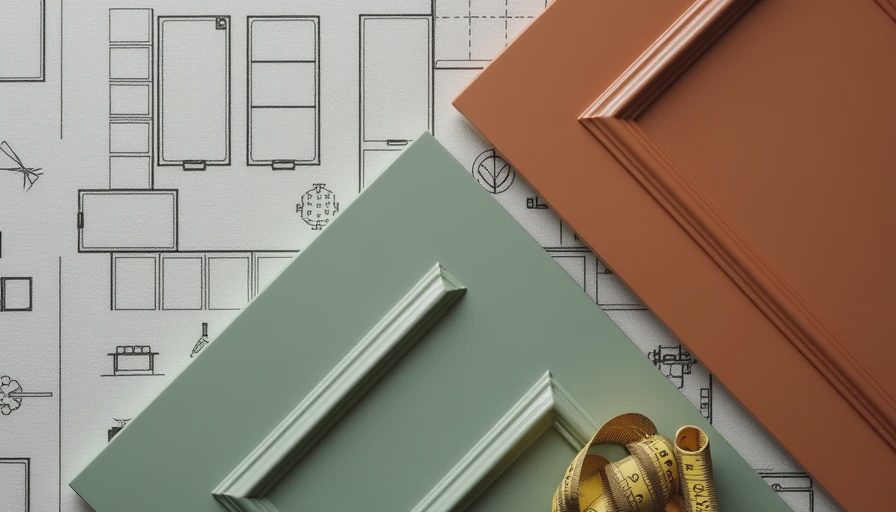
Two tone kitchen cabinets gave us a useful visual split. We chose warm white for the perimeter cabinets and a muted blue-gray for the island. The upper cabinets disappeared more easily into the wall, while the darker base cabinets added definition around the cooking area. The final colors were not exact designer selections; we tested five sample boards beside the existing floor, backsplash, and south-facing window before choosing.
The first samples taught us an important lesson. Paint that looked blue in the store looked noticeably gray beside our countertop. Another color looked almost black at night. If you are testing samples, view them at breakfast, after sunset, and with the actual light fixtures turned on. Color decisions made at 2 p.m. can become expensive surprises at 8 p.m.
Our Actual Budget and Timeline
The cabinet boxes and doors cost $6,420 from a mid-range semi-custom supplier. We paid $1,180 for paint, primer, rollers, sanding supplies, new hinges, and drawer hardware. The island color required extra prep because we wanted a smooth finish rather than a visibly brushed surface. Countertops came to $3,760, including fabrication and installation.
Other expenses added up quickly: $840 for a new sink and faucet, $510 for electrical work, $690 for lighting, and $1,260 for trim, filler panels, caulk, and miscellaneous hardware. We reused our refrigerator and range, which kept the project from drifting toward $25,000. Our final total was $16,980 before the replacement dishwasher we bought three months later.
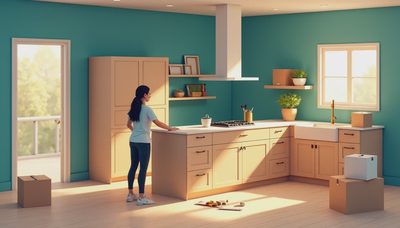
The work took 11 weekends, not the four weekends on my original spreadsheet. Weekend one was demolition. Painting and curing took three weekends. Cabinet installation took two more because our 1994 walls were not remotely straight. Countertop templating added a delay, and the final week involved adjusting doors that appeared level until the room's uneven floor made them look crooked.
That timeline matters if you are planning meals around the renovation. We used a folding table in the dining room, an electric skillet, a microwave, and the garage utility sink. We washed dishes there for six weeks. I now consider a temporary kitchen budget line as important as cabinet hardware.
How We Made the Color Combination Work
The safest approach with two tone kitchen cabinets is to give each color a job. Our warm white handles the larger visual area, so it keeps the room open. The blue-gray is limited to the island, where it acts as an anchor. We did not add a third cabinet color, because the flooring, counters, backsplash, and metal finishes were already enough competing information.
We also repeated the island color in small ways. The pendant light cords, two counter stools, and a narrow pantry door use related dark tones. They do not match perfectly, and that is fine. Exact matching can make a room feel assembled from a catalog. The goal was visual rhythm, not a paint-chip scavenger hunt.
Hardware changed the result more than I expected. We tested brushed brass, matte black, and polished nickel. Matte black looked sharp against the island but harsh against the white cabinets. Brushed brass warmed the room and connected with the wood accents in our adjoining family room. We chose simple 5-inch pulls for drawers and small knobs for doors, spending $286 total.
One practical warning: dark lower cabinets show dust, crumbs, and fingerprints more clearly than the old almond finish did. With two kids, the island needs a quick wipe most evenings. That is not a deal breaker, but it is part of living with the look rather than photographing it once.

Mistakes We Would Avoid Next Time
Our first mistake was ordering cabinet samples that were too small. A 3-inch painted square told us almost nothing about how a full wall would feel. The second was assuming the installer could hide every uneven wall with trim. He did a good job, but filler strips became wider than expected near the refrigerator, and our original layout drawing did not show that clearly.
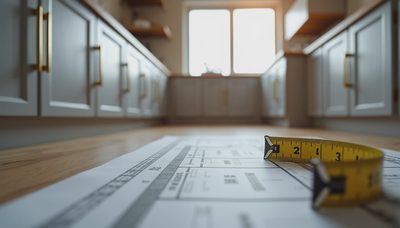
We also installed the backsplash too soon. The countertop edge and cabinet adjustments changed the final gap by enough to make our first tile layout look awkward. Removing six rows of tile cost us a full Saturday and about $110 in replacement materials. Measure twice, cook once, and in a renovation, measure again after the cabinets are fastened.
If you are considering two tone kitchen cabinets, order physical door samples before approving the full cabinet order. Put them beside the countertop, floor, appliances, and backsplash sample. Look at them under your actual bulbs. Ask the supplier how touch-ups work and whether the same finish is available later. A color that cannot be repaired easily is a poor choice for a high-traffic island.
What I Would Recommend for a Mid-Range Remodel
For a typical suburban kitchen, I would spend first on cabinet construction, drawer function, and installation quality. Decorative upgrades are easier to add later, while a crooked cabinet or shallow drawer will annoy you every day. Two tone kitchen cabinets can create a custom appearance without requiring every cabinet to be upgraded to the most expensive line.
A reasonable planning range for a mid-budget project is $12,000 to $20,000 when you keep some appliances and avoid moving plumbing. Cabinet costs often land between $5,000 and $9,000, while counters, lighting, hardware, and labor fill much of the remaining budget. These numbers are planning ranges, not quotes, but they helped us decide where to spend and where to stop.
Our best value was the island finish and the additional drawer storage. Our least valuable purchase was a decorative end panel that cost $190 and is barely visible. Before ordering, walk through the kitchen and identify every surface from standing height, seated height, and the doorway. Spend money where your eyes and hands actually go.
The finished kitchen is not perfect. The island has one corner that is slightly out of square, and I can still find paint on the underside of a drawer if I look with a flashlight. But the room works better, feels brighter, and looks considered rather than rebuilt from a showroom template. That is a successful renovation in our house.
Two tone kitchen cabinets were the right decision for us because the contrast solved a real problem: a dark, dated room that needed warmth and structure without a complete luxury makeover. Start with the room's light, existing finishes, and daily mess level. Then price the practical pieces before falling in love with a color. Your future self will appreciate both the spreadsheet and the extra drawer.