When we started planning our 180-square-foot kitchen renovation, shaker kitchen cabinets were the one decision Megan and I agreed on immediately. Our 1994 suburban kitchen had almond-colored doors, swollen particleboard near the sink, and enough fake oak trim to qualify as a small forest. We wanted something simple, repairable, and reasonably priced. That ruled out ornate custom doors, but it did not make the buying process simple.
I treated the cabinet project like a product launch, complete with a spreadsheet, a rough roadmap, and several avoidable bugs. Our final cabinet bill was about $7,400 before countertops and installation supplies. That was not pocket change, but it was substantially less than the showroom packages that started around $12,000. Here is what actually mattered, what went wrong, and where I would spend differently next time.
Why we chose this door style
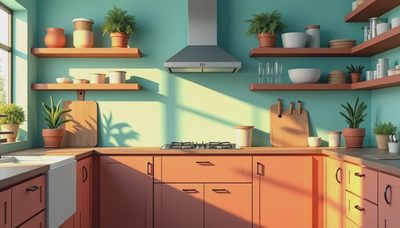
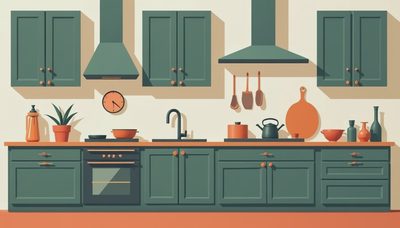
Shaker kitchen cabinets have a flat center panel surrounded by a simple four-piece frame. That basic construction gives them a clean appearance without looking as stark as a completely flat slab door. In our house, the style also felt appropriate for a 1990s remodel. We were updating the room, not pretending the house was a historic farmhouse in Vermont.
The practical advantage was flexibility. White doors would make the narrow room brighter, while a muted blue-gray on the island could add contrast later. The straight lines worked with a brushed nickel faucet, black appliance handles, and the inexpensive white subway tile we had already selected. I did not have to coordinate carved details with every other finish.
There is also a maintenance benefit. Dust gathers on any cabinet, but shaker kitchen cabinets do not have deep grooves or decorative ledges that turn cleaning into a Saturday project. A damp microfiber cloth handled most daily messes. The center panel did require attention around the inside corners, especially after Charlie made pancakes and somehow got batter on a door six feet away.
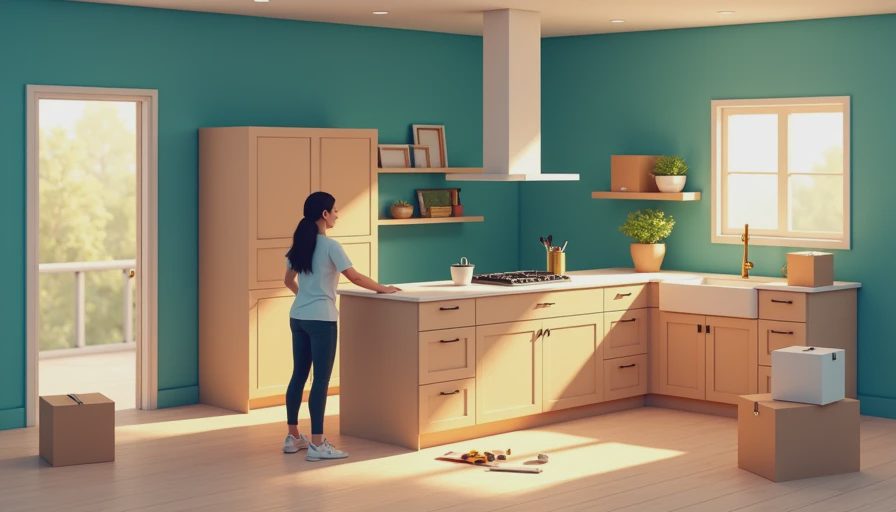
Stock, semi-custom, or custom?
Our first mistake was treating these categories as interchangeable. Stock cabinets come in standard widths and finishes, usually with the shortest lead time. Semi-custom lines offer more sizes, modifications, and finish choices. Fully custom cabinets can solve unusual layouts, but the price rises quickly because every box is built for one kitchen.
We compared an IKEA layout, a big-box stock line, and a local cabinet dealer. The IKEA estimate was the lowest at roughly $5,900, but it required more interior organizers and careful planning around filler pieces. The stock option landed near $6,600 and had a faster pickup schedule. The local semi-custom quote came to $8,100, with better plywood construction and more finish samples.
We chose the middle option after calculating the complete package instead of staring at the door price. Include toe kicks, panels, crown molding, fillers, drawer upgrades, hinges, delivery, and sales tax. A cabinet quote that looks $1,000 cheaper can lose that advantage once those pieces appear as separate line items. Our spreadsheet had columns for item, quantity, unit cost, tax, delivery status, and actual receipt amount. It was not glamorous, but it caught two missing end panels before we placed the order.
The measurements that saved us
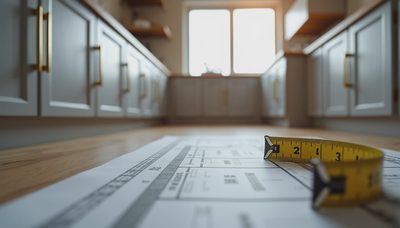
Before ordering shaker kitchen cabinets, I measured every wall three times. Then I measured again after removing the old countertop. The wall behind our range was not square; it narrowed by almost half an inch from one end to the other. That does not sound dramatic until a tall pantry cabinet has to fit between two walls.
I recorded wall lengths, ceiling height, window trim, plumbing location, electrical outlets, and the distance from the floor to the lowest point of the ceiling. I also marked where doors opened and where appliance handles could collide. Our refrigerator needed a filler strip so its door could swing far enough to open the crisper drawers. Without that strip, the refrigerator would have looked installed but functioned like a very expensive cupboard.
The most useful decision was leaving a small amount of planned filler near the corner. Online layouts often maximize every inch, but a cabinet door needs clearance. A two-inch filler is cheaper than discovering that two new doors hit each other. Measure twice, cook once. In our case, measure twice, order once was the part that kept dinner possible.
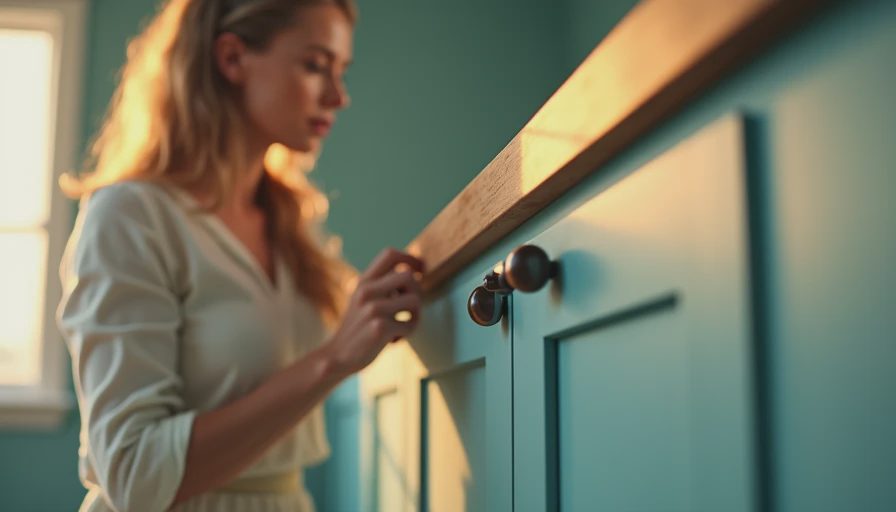
What construction details mattered
The visible door gets most of the attention, but the cabinet box affects installation and long-term use. We looked for adjustable shelves, full-extension drawer slides, soft-close hinges, and a finish that felt even at the edges. Plywood sides were appealing, although they increased the price. A well-built particleboard box is not automatically a failure, especially when it stays dry, but water exposure is the reason I prioritized a stronger sink-base cabinet.
Our most useful upgrade was drawers below the counter. We paid about $180 more to change one lower-door cabinet into a drawer stack. That purchase has paid us back every morning because pans are accessible without kneeling and moving three objects first. We skipped expensive built-in spice racks and appliance garages. Those features looked clever in the showroom but consumed space we needed for ordinary dishes and food storage.
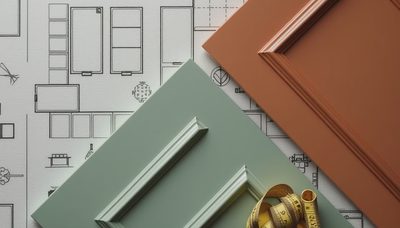
Paint quality also mattered. We brought home door samples and checked them in morning, afternoon, and artificial light. The first white looked gray beside our flooring. The second looked too yellow. We eventually selected a soft warm white that hid small fingerprints better than a bright finish. None of this required a designer, but it did require taking samples home instead of trusting showroom lighting.
Installation was the expensive learning curve
The cabinets themselves were only one part of the job. We spent approximately $620 on shims, screws, filler material, trim, a new level, clamps, and a rental laser level. I installed the base boxes with help from a contractor friend who reviewed the layout. A professional installation quote was around $2,800, so our labor savings were real, but the work took three long weekends instead of the one weekend I imagined.
The first cabinet went slowly because I was learning how to establish a level reference line. The second went faster. By the sixth, I was confident enough to make a mistake that required removing it and patching two screw holes. The wall was slightly bowed, and I had tightened the cabinet against it rather than shimming behind the mounting rail. That created a gap at the face frame.
If you hire installation, get the labor scope in writing. Ask whether the price includes leveling, fillers, end panels, crown molding, hardware installation, and cleanup. If you do it yourself, buy extra shims and do not rush because the countertop installer is scheduled. A crooked cabinet becomes a crooked countertop problem, and that is a much more expensive bug.
Our final cost and what I would change
The cabinet boxes and doors cost $7,400. Delivery added $280, installation supplies totaled $620, and hardware was another $310. The full cabinet phase came to about $8,610 before countertops, backsplash, paint, and appliances. Our complete kitchen renovation eventually reached just over $19,000, with labor savings offset by several weekends of lost family time.
Would I choose shaker kitchen cabinets again? Yes, but I would order samples earlier and pay for the better drawer slides across more of the lower run. I would also replace the basic sink cabinet with a water-resistant construction option from the start. A small leak under the sink caused swelling before I noticed it, and prevention would have cost less than the repair.
For a mid-budget kitchen, shaker kitchen cabinets are not automatically the cheapest choice. They are simply a dependable middle path: widely available, easy to coordinate, and straightforward to repair. Price the entire system, not just the doors. Confirm every measurement. Leave room for installation mistakes in both your budget and your schedule. And before placing the order, imagine unloading groceries, opening the dishwasher, and finding a pan at midnight. If the layout works in those unphotogenic moments, you are probably on the right track.