The Floor Had to Survive Us
We needed a floor that could handle two kids, one shedding dog, spilled red sauce, dropped forks, and the occasional standing water from a leaky dishwasher hose—without looking destroyed in six months and without requiring a second mortgage.
Tile felt too hard and cold. Hardwood felt too precious and expensive for a kitchen that sees real life. That left luxury vinyl plank (LVP). This is the full record of the product we chose, what we paid, how we installed it, and what we would tell anyone else standing in the flooring aisle trying to separate marketing claims from reality.
The Contenders We Actually Considered
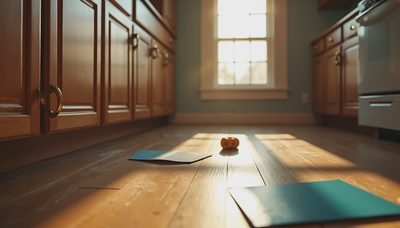
We brought home samples of four products and left them on the kitchen floor (while it still existed) for a week. The kids walked on them. The dog inspected them. We spilled water, dropped a can of tomatoes, and dragged a chair across each one.
Mid-grade ceramic tile – durable but cold, noisy, and unforgiving when glasses fall.
Engineered hardwood – beautiful and immediately scratched by the dog’s nails in the sample test.
Cheap peel-and-stick vinyl – felt temporary and looked it after one week of traffic.
5.5 mm rigid-core luxury vinyl plank with a 20-mil wear layer and attached underlayment – the one that survived the tomato-can test and still looked acceptable.
We chose option 4.
The Exact Product and What We Paid
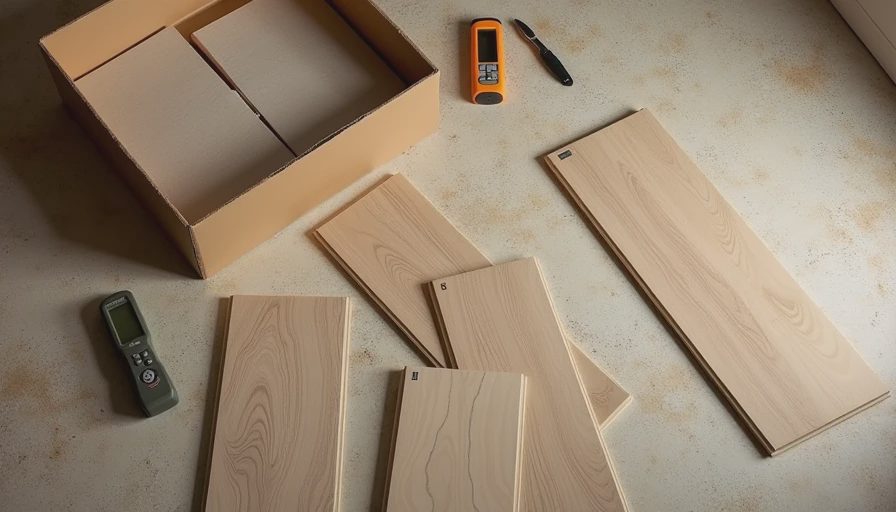
Product: rigid-core LVP, 5.5 mm total thickness, 20-mil wear layer, waterproof rigid core, attached IXPE underlayment, click-lock system
Color: a medium oak with subtle variation (we wanted something that hid dust and crumbs better than pure white or pure gray)
Coverage purchased: 220 sq ft (180 sq ft kitchen + 15 % waste + a few extra planks for future repairs)
Material cost: $3.48 per sq ft
Total material cost including underlayment transitions and extra planks: $820
Tools we already owned: oscillating multi-tool, pull bar, tapping block, utility knife
New tools/supplies: spacers, a better knee pads pair, and a moisture meter: $47
All numbers are in the public spreadsheet under “Flooring – LVP.”
Why This Spec Mattered
20-mil wear layer
Thinner wear layers (6–12 mil) are common in cheaper planks and show scuffs faster. The 20-mil layer has so far shrugged off chair legs, dog nails, and one dramatic dropped cast-iron lid.
Rigid core + attached underlayment
The rigid core stays flatter than older flexible vinyl and feels more solid underfoot. The attached underlayment saved us a separate step and reduced the “hollow” sound some LVP floors have.
Waterproof claim
We take this with the usual grain of salt—no vinyl is magic if water sits for days—but the core does not swell the way laminate does when it gets wet. That mattered in a kitchen.
Click-lock system
We installed it ourselves. The system was forgiving enough for two non-professionals and tight enough that we have not had planks separating under normal traffic.
Installation Reality (The Parts the Videos Skip)
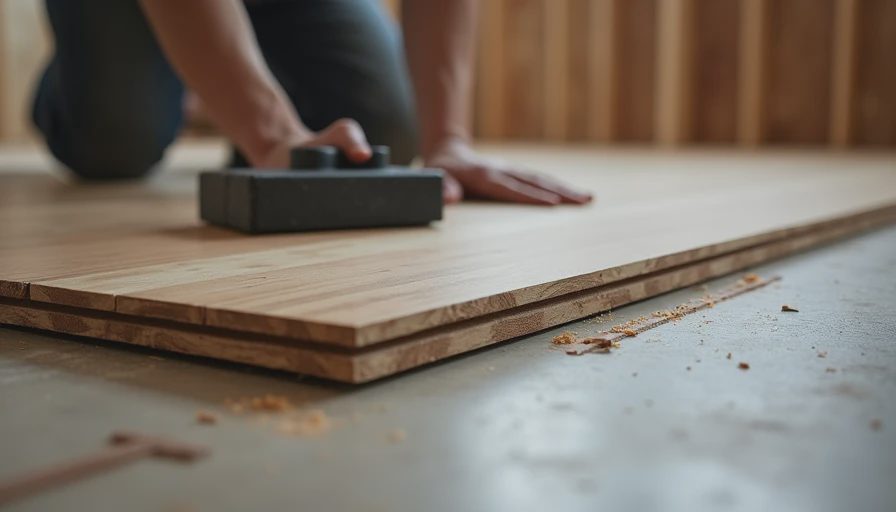
We acclimated the boxes in the house for 48 hours. We leveled a few low spots in the subfloor after the asbestos abatement and new underlayment. We started along the longest straight wall and worked our way across, staggering the end joints by at least 8 inches.
The first two rows took longer than expected while we learned the feel of the click. After that the pace picked up. Cut edges against the walls were done with the oscillating multi-tool and a straightedge. Around the doorway we used a reducer transition strip that matched reasonably well.
Total installation time for two people: roughly 11 hours spread over two days. Our knees filed formal complaints. The knee pads helped but did not fully solve the problem.
How It’s Holding Up So Far
We have now lived on the floor through the rest of the renovation and the first months of real kitchen use. Observations:
Red sauce, oil, and tracked-in mud wipe up without staining.
Dog nails have not left visible scratches in the wear layer.
Dropped utensils leave occasional small dings that are only visible in certain light.
The floor feels warmer than tile and quieter than the old vinyl.
A few planks near the high-traffic peninsula show slight surface scuffing that does not catch a fingernail—acceptable for a working kitchen.
We kept six full planks and a few cut-offs labeled in the garage for future repairs. That insurance feels worth the small extra cost.
What We Would Change
We would still choose rigid-core LVP with a 20-mil wear layer. We might spend a little more for a product with a deeper embossed texture if we wanted even better hide-the-crumbs performance. We would also buy the matching quarter-round and transition pieces at the same time instead of making a second trip.
The Spreadsheet Bottom Line
Flooring total: $867 (materials + minor supplies).
This came in under the original Phase 3 flooring budget line, which helped offset part of the earlier asbestos and plumber overruns. One of the few categories that behaved.
The floor is not indestructible. It is, however, the best balance we found between durability, cost, comfort underfoot, and the reality of a family kitchen that sees actual use instead of staged photos.
Measure twice, cook once.
And choose the floor that can survive the red sauce, because the red sauce is coming.