Green kitchen cabinets were not part of my original renovation plan. When Megan and I started updating our 1994 kitchen in Salt Lake City, I was thinking white, maybe light gray, and definitely something that would make the room feel less like a time capsule. Then we taped a few paint samples to the wall, and a muted green made the almond counters look less offensive. That was the beginning of our green kitchen cabinets experiment, complete with spreadsheets, one bad color choice, and several long weekends.
Our kitchen is about 180 square feet, and we kept the existing cabinet boxes to control costs. The doors and drawer fronts were worn but structurally sound, so replacing everything would have been unnecessary. The initial budget was $6,500 for cabinet work, counters, lighting, hardware, and a few repairs. We finished at $7,184, including sales tax, because old houses enjoy hiding expenses behind perfectly innocent-looking walls.
Why We Chose Green Instead of White
White cabinets were the safe choice. They would have been easy to match with our flooring, backsplash, and stainless appliances. The problem was that our kitchen already had plenty of pale surfaces, including beige vinyl flooring and a cream-colored wall. White cabinets would have created a bright room, but not necessarily an interesting one.
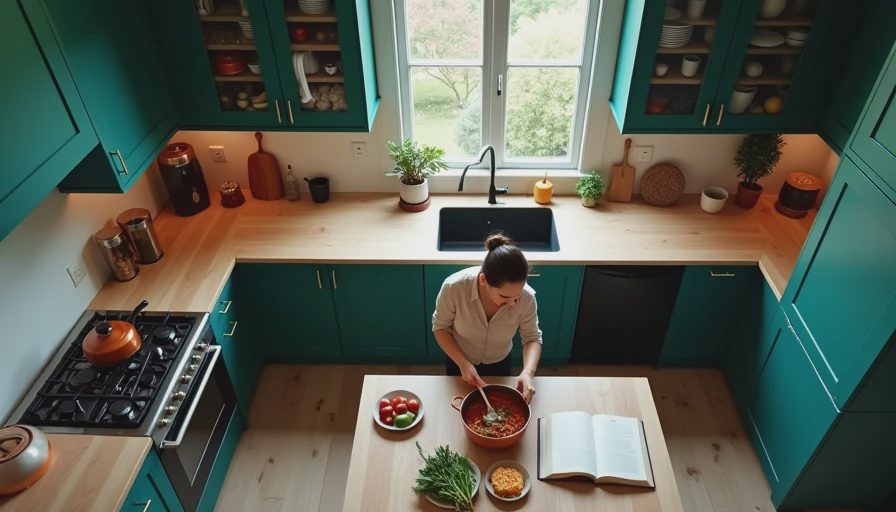
Green kitchen cabinets added color without making the space feel loud. We looked at sage, olive, eucalyptus, and deep forest samples. The first sample, a saturated hunter green, looked dramatic in the store and looked like a golf clubhouse under our cool LED bulbs. We crossed that one off quickly. A softer sage-gray color worked better with our north-facing window and existing butcher-block island.
The final paint was Benjamin Moore Vintage Vogue in a satin cabinet finish. It is not a perfect match for every green kitchen cabinets photo online, and that is a good thing. Online images often use bright lighting and edited colors. We tested three sample boards and moved them around the room for a full week before ordering paint. The sample that looked gray at noon turned distinctly green beside the refrigerator at night.
Our Actual Cabinet Costs
The biggest savings came from reusing the cabinet boxes. We spent $412 on sanding supplies, bonding primer, cabinet paint, replacement hinges, and disposable materials. New shaker-style doors would have cost about $2,200 from the local supplier we contacted, before installation. Refacing everything with a professional company came in near $4,800, so painting was the obvious budget move for us.
Here is how the cabinet portion broke down: $146 for primer and paint, $118 for hinges and drawer slides, $74 for sanding and prep supplies, $38 for wood filler and caulk, and $36 for brushes, rollers, and plastic sheeting. The numbers are not glamorous, but this is where a renovation budget becomes real. The paint itself was not the expensive part. The time, cleanup, and replacement hardware added up faster than expected.
We also paid $320 for a local handyman to repair two sagging doors and reinforce the sink cabinet floor. I originally planned to handle both repairs, but the sink cabinet had water damage that was beyond my confidence level. Spending that money prevented a future leak from turning into a much larger cabinet replacement.
The Prep Work Took Longer Than Painting
I assumed painting green kitchen cabinets would be mostly rolling paint onto flat doors. That assumption lasted until I removed the first door and found years of cooking grease around the handles. We labeled every door with painter's tape and a number, then removed the hardware and washed each surface with a degreaser. Skipping that step would have caused adhesion problems.
After cleaning, I lightly sanded the doors, filled old screw holes, sanded again, and applied bonding primer. We painted the doors in the garage on folding tables, while the cabinet boxes stayed in place. Each coat needed time to cure before we handled it. The full cabinet process took nine days, although the actual hands-on work was closer to four long days.
The first coat looked terrible. It was streaky, uneven, and much brighter than the sample board. The second coat improved coverage, and the third coat made the finish consistent. We used a small foam roller for broad areas and a fine brush around the profiles. A sprayer would probably have produced a smoother finish, but buying and learning one for this project did not fit our schedule or budget.
Hardware Changed the Whole Look
Our original brass knobs were scratched, mismatched, and attached with screws that had clearly survived several previous owners. We replaced them with simple aged-brass pulls from a mid-priced hardware line. The cabinet hardware cost $286, including a drilling template. That template was worth every dollar because I managed to install the first pull slightly off-center before using it.
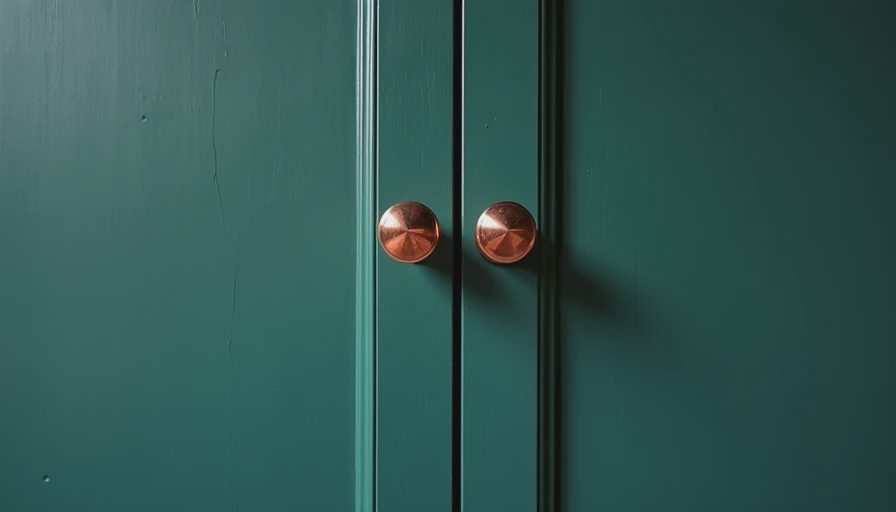
Green kitchen cabinets can look traditional, modern, or farmhouse-inspired depending on the hardware and surrounding materials. Our aged brass softened the color and connected with the warm wood island. Black hardware looked sharper in the store but made the kitchen feel more contrast-heavy than we wanted. Chrome was the least expensive option, yet it emphasized the cold tone of our appliances.
We kept the existing island wood top and added a warm white backsplash tile. That combination stopped the room from becoming a wall of color. If every surface had been green, the result would have felt like a themed room instead of a kitchen where two children eat cereal while I unload the dishwasher.
Mistakes We Would Avoid Next Time
Our first mistake was choosing color before checking the bulbs. The old under-cabinet lights were warm incandescent fixtures, while the replacement LEDs were cooler. The same sample looked muddy under one and fresh under the other. We installed the new lights before making the final paint decision, which saved us from repainting.
The second mistake was underestimating drying space. We had cabinet doors spread across the garage, basement, and dining room. Charlie nearly stepped on a drawer front while carrying a backpack, and Emma asked why the kitchen had become a furniture hospital. A small folding rack or temporary shelving would have made the work safer and less chaotic.
The third mistake was delaying the hardware order. Supply delays left two drawers without pulls for nearly three weeks. That sounds minor until you are opening a drawer with a butter knife every morning. Order knobs, pulls, hinges, and slides before starting demolition or painting.
Is This Color Practical for a Family Kitchen?
For us, yes, but the finish matters more than the color. Satin paint hides fingerprints better than a high-gloss finish and is easier to wipe than flat paint. We still see crumbs and smudges, especially around the trash pullout, but they are no more difficult to clean than they were on the old cream cabinets.
The green also hides small daily marks better than the white sample we tested. A scuff near the dishwasher disappeared into the color, while the same mark stood out clearly on white. Touch-up paint is still necessary, so we saved a labeled half-pint in the basement and recorded the product name in our renovation spreadsheet.
For homeowners considering green kitchen cabinets, my practical recommendation is to test large boards, inspect them in morning and evening light, and compare them with your counters and floor. Do not choose from a tiny paint chip. Measure twice, cook once, and make the final decision after living with the samples for several days.
The finished room feels warmer, more intentional, and much less like the kitchen we inherited. Green kitchen cabinets did not magically make the renovation inexpensive, but reusing the boxes kept the project within reach. Our final cabinet investment was under $1,000, and the biggest return came from patience during prep. That is not as photogenic as a before-and-after reveal, but it is the part I would repeat.