The Plan That Sounded So Clean
Template day had gone smoothly. The fabricator measured, photographed, and confirmed the sink cutout and faucet holes. We received the final quote, paid the deposit, and blocked a Tuesday on the calendar for install. The confirmation email said the crew would arrive between 8 and 10 a.m. and expected to be finished in roughly two hours.
The renovation notebook had a single checkbox: “Counters in.”
The public spreadsheet had the locked price already entered.
We cleared the cabinets, moved the temporary kitchen one more time, and went to bed almost optimistic.
By 6:30 that evening the counters were finally in place, the crew had left, and the notebook had three new pages of notes. This is the full account of Countertop Install Day—the delays, the fit issues, the seaming conversation, and the quiet damage to both the schedule and the contingency that no longer existed.
8:15 a.m. – The Crew Arrives (Late, but Present)
The truck pulled up at 8:15. Two fabricators and a helper unloaded the quartz slabs with the careful choreography of people who do this every day. The pieces looked good—consistent color, clean edges, the sink cutout exactly where the template had promised.
They dry-fitted the first run. It sat well. Then they dry-fitted the return that formed the peninsula. The seam location that had looked perfect on the template now sat directly over a cabinet joint in a way that made the lead fabricator frown. He measured again, checked the template photos on his phone, and said the sentence we were learning to dread:
“We might need to adjust this.”
9:40 a.m. – The Seam Argument
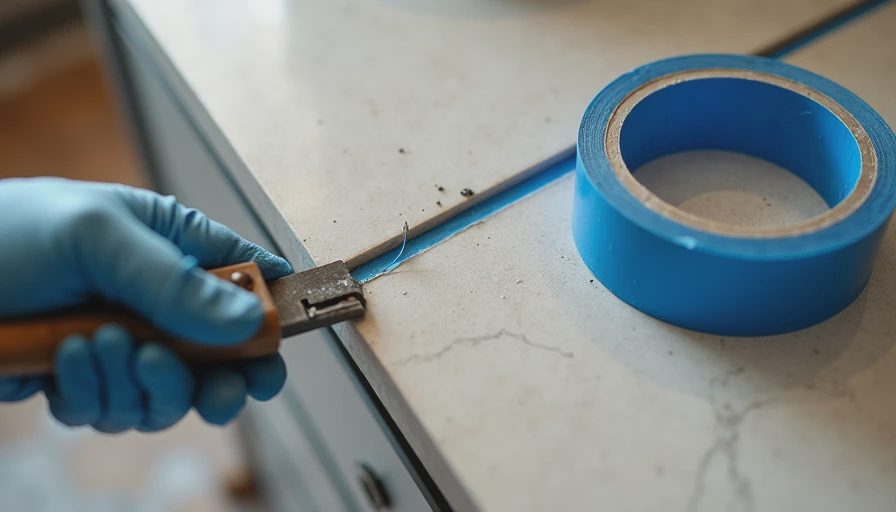
The original template had placed the seam in a low-visibility spot. On install day the actual slab layout and the cabinet reveals made that location look worse than expected. The fabricator wanted to shift the seam six inches. Shifting it meant the peninsula piece would no longer match the grain direction we had approved. Keeping it meant a more obvious seam line right in the primary sightline from the living room.
We stood there with the kids at school, the dog locked in the bedroom, and the temporary kitchen once again displaced. After twenty minutes of options and a call back to the shop, we agreed to a slight shift and a tighter color-match protocol on the seam epoxy. The decision cost us ninety minutes and a small upcharge for the extra shop time.
11:20 a.m. – The Sink Reveal Problem
The undermount sink sat almost perfectly—except for a 1/8-inch gap on the back left corner where the cabinet box had a minor out-of-square condition we had not caught. The fabricator could not simply caulk over it and walk away; the gap would collect water and eventually stain or loosen the adhesive.
Solution: remove the sink, shim the cabinet corner, re-set the sink, and re-check level. Another forty-five minutes. The shop vac came back out. The plastic went back up on the doorway even though we had told ourselves dust containment was finished.
1:00–3:30 p.m. – The Long Afternoon
Once the fit issues were resolved, the actual adhesive and seaming work began. Quartz seams are not invisible, no matter what the showroom photos suggest. The crew worked carefully, color-matched the epoxy, and cleaned as they went. We stayed out of the way and answered questions when asked.
At 2:15 the helper discovered that one of the faucet holes was drilled 3 mm off the final desired center. Not catastrophic, but enough that the base plate would not sit flush without a slight enlargement. They enlarged it on site with a careful bit and a lot of tape to protect the surrounding surface. Another small delay. Another note in the notebook.
By 3:30 the last piece was set, the seams were tooled, and the crew began the final wipe-down and inspection.
5:45 p.m. – Done Enough
The counters were in. The sink was secure. The faucet holes lined up closely enough that the fixture sat cleanly. The seam was visible if you looked for it and acceptable if you did not. The crew packed the truck, handed us the care sheet, and left.
Total time on site: almost ten hours.
Original estimate: two hours.
New spreadsheet entries: seam adjustment labor and material, on-site sink re-set, minor faucet-hole correction, and the extra day of temporary kitchen costs.
The Numbers That Landed in the Sheet
Seam relocation and color-matched epoxy upcharge: $185
Additional on-site labor for sink and hole correction: $140
Extra temporary kitchen supplies and one more pizza night: $37
Emotional cost: not itemized but fully felt
The countertop category, which had been one of the few still on budget, was now over by $325. In the context of the earlier $3,100 variance it was small. On the day it still stung.
What the Day Taught Us
Template day and install day are not the same event. Conditions change. Cabinets settle. Measurements that looked perfect on paper meet reality when the slabs are heavy and the crew is on the clock.
Build a full day of buffer around countertop install even if the company says two hours. The universe notices optimistic schedules.
Be present. The decisions about seam placement and gap repair required someone who could say yes or no without a three-hour phone loop.
Accept that a visible seam is part of most real quartz installs. The goal is a good seam, not an invisible one.
Current Status
The counters are solid. They look better than the old laminate with the mystery burn mark. They clean easily. The kids have already tested them with homework and a spilled juice box. The temporary kitchen is finally starting to feel temporary again.
We still have the backsplash, final plumbing trim, electrical finish, and the long punch list ahead. The spreadsheet now reflects a project that continues to teach us the difference between an estimate and a living total.
Measure twice, cook once.
And when the countertop crew says “two hours,” clear the entire day anyway.