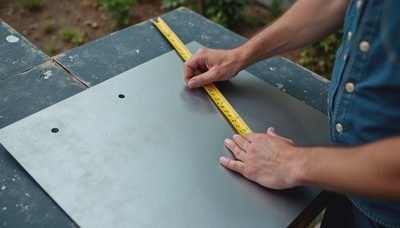
When we started planning our diy kitchen island, I had a spreadsheet, a tape measure, and more confidence than practical experience. The kitchen in our 1994 Salt Lake City house had an awkward open space where an island should have been, but we did not have an unlimited renovation budget. Our goal was a useful work surface with storage, seating for two, and a finish that looked intentional rather than homemade in the bad way. The final project took three long weekends and cost about $1,460 before tools I already owned.
Why we chose a diy kitchen island
A cabinet company quoted us roughly $3,500 to $5,000 for a similar island, depending on the countertop and paint finish. That price was not unreasonable, but it competed with higher-priority work: replacing a failing dishwasher line and repairing a section of subfloor near the sink. Building it ourselves let us control the order of spending.
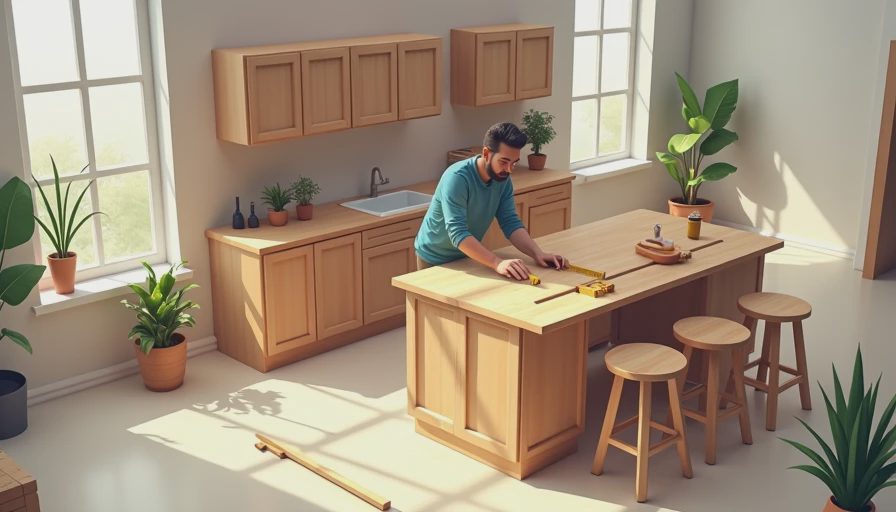
Our island is 72 inches long, thirty inches deep, and 36 inches high, with a 12-inch seating overhang on one side. It includes two stock base cabinets, a narrow drawer unit, and a finished end panel. That configuration gave us drawers for measuring cups and kid-friendly snack storage without requiring custom cabinetry. The footprint also left about 42 inches between the island and the existing counters, enough for two people to pass without doing the awkward sideways kitchen shuffle.
The first lesson was to design around how we cook, not around the prettiest photos online. Megan wanted a clear landing zone beside the refrigerator. I wanted a place to chop vegetables without blocking the range. The kids needed seating that did not sit directly in the busiest walkway. A smaller island would have saved money, but it would not have solved our actual problems.
Materials and real project costs
For our diy kitchen island, the largest expense was the countertop. We paid $620 for a remnant piece of quartz from a local fabricator, including measuring and installation. A butcher-block top could have reduced that line to approximately $250, but we wanted a surface that would tolerate spilled grape juice and hot, messy family cooking with less maintenance.
The two unfinished stock cabinets cost $390 together. The drawer base was $185, the end panels and trim came to $96, and paint, primer, hardware, screws, shims, and construction adhesive added another $118. We spent $51 on a new cabinet-leveling tool after discovering that our old torpedo level was not long enough for checking the full run. That purchase felt annoying at the time and useful every day afterward.
The budget did not include the circular saw, drill, clamps, or miter saw because those were already in my garage. If you need to buy or rent tools, add $100 to $300. A rental is usually smarter than buying a specialized saw for one project. Also budget for delivery fees, sales tax, and a contingency of at least 10 percent. Our spreadsheet started at $1,280 and ended at $1,460 because small parts multiply when you are making several trips to the hardware store.
The build sequence that saved us trouble
We assembled the cabinet boxes first, then placed them upside down on a flat garage floor to connect the frames. Before fastening anything permanently, I taped the planned footprint on the kitchen floor. This exposed a problem: the original layout left the refrigerator door closer to the island than expected. Moving the island three inches toward the sink solved the clearance issue without making the cooking aisle feel cramped.
For this diy kitchen island, anchoring was the step I took most seriously. A freestanding cabinet can shift when someone leans against it, especially when children climb onto a stool. We marked the cabinet position, moved the boxes aside, and attached two-by-four cleats to the floor with appropriate fasteners. The cabinet bases were then screwed into those cleats and into each other. If your floor is concrete, the fastening method changes, so this is one place where a local professional can save a lot of frustration.
We used shims to level the cabinets before attaching the countertop. Do not assume the floor is flat because it looks flat; ours varied enough to create a visible gap under one cabinet. After the boxes were secured, we installed side panels and a simple painted plywood back. The back is not visible from the main room, but finishing it prevented the project from looking unfinished when viewed from the hallway.
What went wrong during our diy kitchen island build
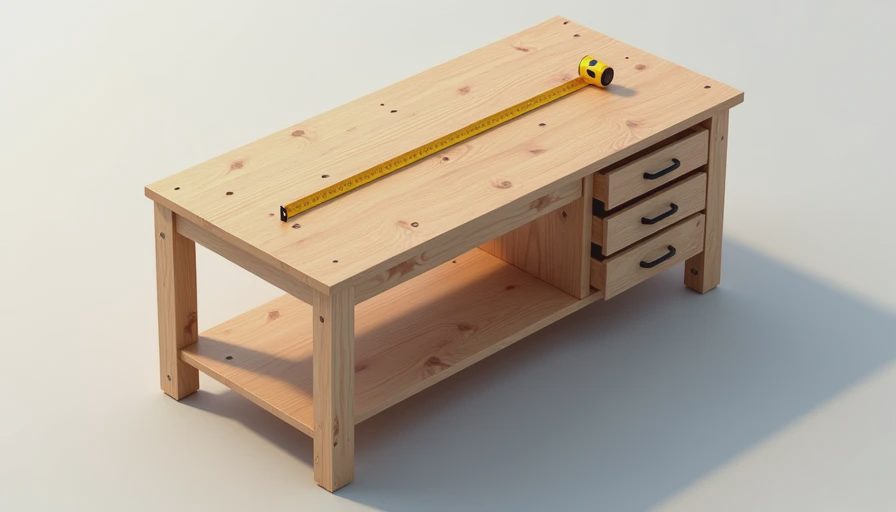
The first mistake was ordering the countertop before final cabinet placement. I had measured the boxes correctly but forgot to account for the finished end panel and the desired overhang. The fabricator caught the discrepancy during the site measure, which saved us from an expensive remake. Measure twice, cook once is not just a cute phrase when a slab costs several hundred dollars.
The second mistake was painting too early. I applied two coats to the doors before installing the island and then scraped a corner while carrying a cabinet through the dining room. The repair was simple, but the timing was dumb. Install, fill holes, sand, and then do the final paint coat. That sequence produced a cleaner finish and fewer touch-ups.
We also underestimated drawer hardware. The inexpensive pulls looked fine online but felt sharp at the edges. We replaced them with longer satin nickel pulls that cost $9 each. That added $54, but the difference was noticeable every time we opened a drawer. A kitchen island is a high-contact piece of furniture, so hardware deserves more attention than its small line item suggests.
Making the island work for a family
Our diy kitchen island became useful because we planned storage around recurring messes. One drawer holds lunch containers, another holds measuring tools, and the shallow top drawer contains scissors, tape, and school-day odds and ends. We added a small outlet on the side facing the dining area for a mixer and laptop charging. Electrical work was handled by a licensed electrician because island outlets and local code requirements are not a good place for trial and error.
The seating overhang is only 12 inches, but it works for two counter stools. We considered three stools and rejected the idea after marking their widths with cardboard. Three would have forced people into the walkway and made the refrigerator feel boxed in. Cardboard is free, fast, and surprisingly persuasive during layout arguments.
We skipped a sink, cooktop, and built-in microwave. Each feature would have increased cost, complicated the floor, and required more planning. This island is not trying to be a second kitchen. It is a prep surface, storage wall, homework station, and place for breakfast. That narrower mission kept the project manageable.
Is a diy kitchen island worth it?
For us, yes. The finished island cost less than a custom order and improved the room more than several decorative upgrades would have. We gained drawers, seating, prep space, and a natural boundary between the kitchen and family room. The total timeline was about three weekends, though only one of those felt like smooth progress. The other two included store runs, drying time, and at least one conversation that began with, “Why is this not lining up?”
A diy kitchen island makes sense when you can use stock cabinets, have a straightforward floor plan, and are willing to measure repeatedly. It is less attractive when plumbing, gas, major electrical changes, or structural work are involved. Price the countertop early, confirm appliance and doorway clearances, and tape the full footprint before buying materials. For a project of this size, a careful plan is worth more than heroic confidence.
My final recommendation is to build the smallest island that solves your daily problems, then spend the saved money on durable hardware and a countertop you will enjoy using. Keep every receipt, photograph hidden work before closing it up, and leave extra time for the boring steps. The finished room looks simple now, but that simplicity came from a lot of measuring, revising, and one very crowded garage.