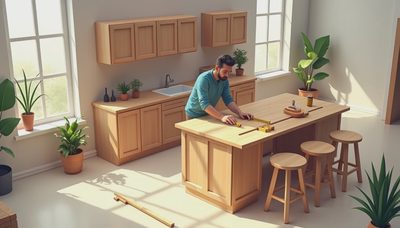
A diy outdoor kitchen sounded simple when I first sketched it on a legal pad in my Salt Lake City garage: grill, counter, fridge, done. Then I priced a gas line, weatherproof cabinets, and a slab that would not crack after one winter. The project still made sense, but only after I stopped thinking like a weekend dreamer and started thinking like a product manager with a spreadsheet. Measure twice, cook once. If you are planning one, the honest version is that the shell is only half the job; the other half is drainage, power, storage, and the stuff you do not see in the Instagram photo.
Start with the slab, shade, and gas
For my diy outdoor kitchen, the first real decision was location. I wanted it close enough to the back door that Megan could carry plates without a relay race, but far enough from the house that smoke would not pour into the kitchen every time I seared steaks. I also learned fast that wind matters more than I expected. In our yard, a bad grill spot turned a calm Tuesday into a flame-fighting exercise.
I got three rough price paths. A basic paver pad ran about $1,500 to $2,500 if you hire help. A poured concrete slab with proper base prep can land closer to $3,000 to $5,000 once labor enters the chat. Running natural gas to the pad cost me another few hundred dollars through a plumber, and that was money well spent because swapping propane tanks gets old fast. If you already have a patio, spend time checking slope, drainage, and whether water pools where you plan to stand in July and January. That planning step is cheaper than fixing heaving stone later.
The parts list that kept me on budget
I treated the build like a product launch with a scope that could not grow every week. The grill was the anchor. I looked at Weber, Blaze, and Coyote before settling on a setup that fit the opening I had, not the fantasy opening I wanted. That is the first real lesson in a diy outdoor kitchen: buy the appliance that fits your space and your replacement budget, because custom cutouts are where cash disappears.
My middle-of-the-road list looked like this: grill, $900 to $1,800; compact undercounter fridge, $450 to $1,000; sink and faucet, $250 to $600; cabinet materials and trim, $700 to $1,500; countertop, $1,500 to $4,000 depending on stone or porcelain; electrical and plumbing help, another $500 to $1,200. Those numbers are why I skipped the built-in pizza oven for now. I would rather have one reliable cooking zone than three half-finished ones. This is also where a diy outdoor kitchen gets dangerous for budgets, because every little upgrade sounds reasonable until the receipts show up in one month.
Materials I would not cheap out on again
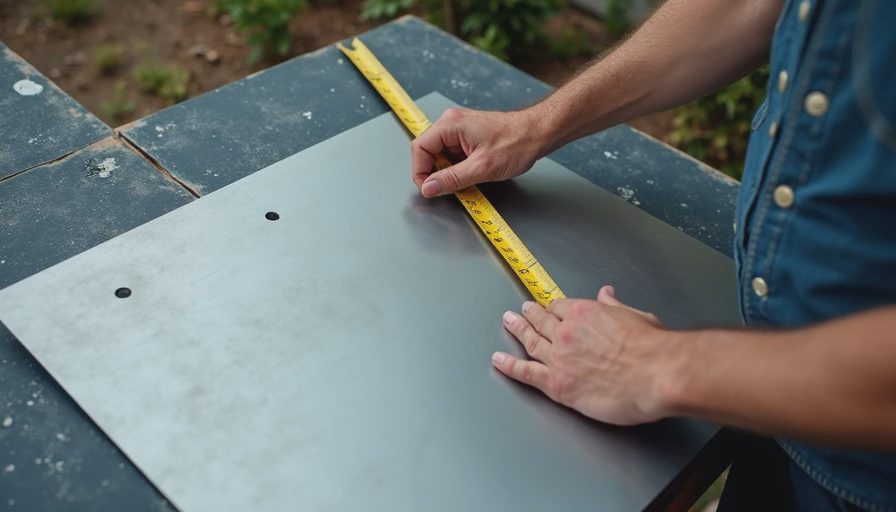
The fastest way to ruin a diy outdoor kitchen is to use indoor materials outdoors and hope the weather is feeling polite. I framed mine with exterior-rated lumber, then wrapped the enclosure with cement board and weatherproof trim. I used stainless screws where they would be exposed and regretted the bargain-bin hinges on the access doors almost immediately. After one freeze-thaw cycle, they started looking like they had been left in a fishing boat.
The hidden wins were the boring parts. A GFCI outlet near the prep zone. Weatherproof covers. A vented access panel for the gas shutoff. Enough room behind the grill so heat would not cook the back panel. I also used a simple quartz-look porcelain top instead of natural stone because I wanted fewer sealant chores. It cost less than the granite quote I got and held up fine to spills, grease, and a dropped cast-iron skillet. On a project like this, boring durability beats flashy materials every time.
The mistakes that cost me a weekend
I made the classic mistake of measuring the appliance and forgetting the door swing. That sounds small until you are trying to open a fridge door and it smacks a cabinet edge. I also forgot how much space you need for tongs, trays, and the plate everyone sets down for just a second. A grill island that looks neat on paper can feel cramped in real life if the landing zone is too small.
The other miss was access. I had to cut a larger service opening than planned because I wanted easier access to the shutoff and a future propane conversion option. That extra cut meant another trip for trim pieces, another tube of adhesive, and another Saturday gone. None of these were catastrophic, but they all added friction. The lesson is that a backyard build still needs the same kind of thinking as any other renovation: service access, future repairs, and enough slack for when the plan changes at the hardware store.
What I would buy again
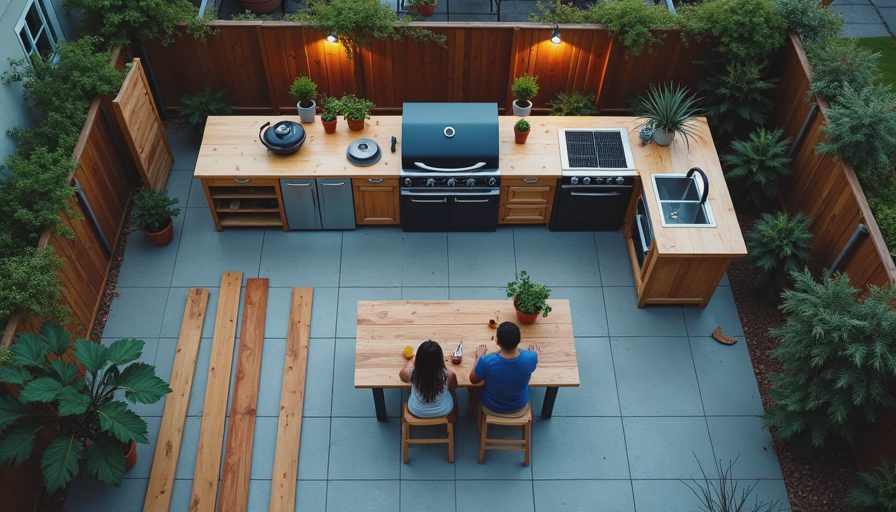
If I rebuilt this setup, I would keep the same basic layout and spend my money on three things: a grill I already knew how to use, a small sink, and a covered prep area. The sink was more useful than I expected because it cut the number of trips back inside. The covered prep area mattered too, especially during a late-summer rainstorm when Megan was trying to finish burgers and the kids were hovering like unpaid interns.
I would also keep the storage simple. One drawer for tools, one cabinet for propane or cleaning supplies, and one shelf for plates. That is it. I do not need a full chef station outside. I need something that survives winter, opens without sticking, and is easy to clean after a soccer-practice dinner. If your version of a diy outdoor kitchen starts with those basics, you can always add the fancy stuff later without tearing out half the build.
The budget and timeline that felt real
My diy outdoor kitchen ended up at about $5,400 all in, including the slab work, gas line, grill, fridge, sink, electrical help, and the extra hardware I bought after my first measurement mistake. A contractor quote for a more polished masonry version was closer to $12,000 to $18,000, so doing the work myself still saved real money. It also took longer than I wanted. I expected four weekends. It took seven, plus a few evenings of muttering in the driveway after the kids went to bed.
The upside is that I know every inch of it now. I know where the shutoff is, how the cabinet is framed, and which corner needs a touch-up after winter. That kind of familiarity is the real payoff. If you are planning a diy outdoor kitchen, start with the boring budget, leave room for one mistake, and do not buy the fancy add-on until the core setup is finished. That is the part I wish someone had told me before I started carrying pavers up the hill.