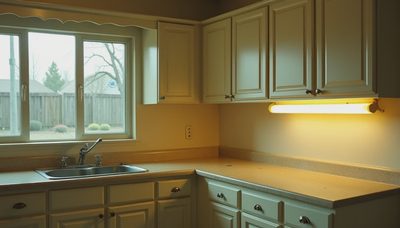
When Megan and I bought our 1994 Salt Lake City house, the kitchen was the room everyone walked past quickly. Almond-colored laminate counters, sticky drawers, and a fluorescent light that buzzed on every setting. We didn't have the $30,000 a local contractor wanted for a basic remodel, so we committed to a DIY kitchen renovation. Over fourteen Saturdays, we tracked every single receipt in a public Google Sheet. This is the honest story of that project - the satisfying parts, the expensive mistakes, and the final number that still makes me smile.
Why We Took On a DIY Kitchen Renovation
Our first contractor bid was $27,400 for a basic gut and refresh. That covered stock cabinets and builder-grade appliances, nothing custom. We had just used our savings for the down payment, so that number was never going to work. I'm a product manager, not a builder, and my contractor buddy Dave laughed when I told him we planned to handle it ourselves. But the kitchen is only 180 square feet, and the layout is a simple open rectangle. We wrote out a phased plan: demo, electrical, drywall, cabinets, counters, flooring, and trim. I set an $8,000 budget. The final tab came to $9,684.22. We still saved more than $17,700 against that bid.
What a DIY Kitchen Renovation Actually Costs
Let me break down the spreadsheet totals in the same order I tracked them. Cabinets were the biggest line: $3,749 for stock shaker units from Home Depot, including one custom corner panel that a local shop cut. Countertops cost $1,280 for quartz remnants from a slab yard, and I paid a fabricator $420 to cut and install them. Appliances came to $2,130 for a Bosch dishwasher, a Whirlpool range, and a basic over-the-range microwave. Flooring was $680 for vinyl plank from Lowe's, which we installed ourselves in one weekend. The remaining $1,425 covered lighting, plumbing parts, drywall, paint, primer, trim, and every tool bit we destroyed. The total, tracked down to the sales tax, was $9,684.22.

Where a DIY Kitchen Renovation Saves Money and Where It Doesn't
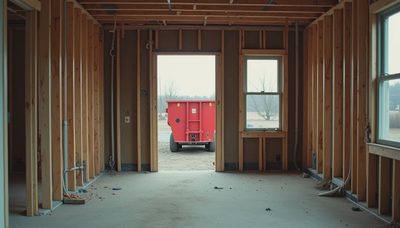
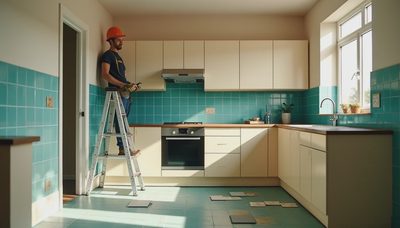
The first place we saved was demolition. Ripping out the old laminate counter and the cracked tile took one long Saturday, a few drinks, and a dumpster drop-off fee. Painting the cabinet frames ourselves cost $160 in primer and paint, but I won't pretend it was easy; the doors needed three coats. The electrical work, on the other hand, we handed to a licensed electrician for $340 to move the microwave outlet and run a dedicated range hood circuit. That was the best money we spent. The backsplash we kept ourselves. We installed $190 worth of white subway tile plus a $40 grout float. A tile contractor would have charged $600 just for labor. The pattern is simple: spend where safety matters, save where patience can do the job.
The Biggest Mistakes We Made in Our DIY Kitchen Renovation
These errors cost us real money and way more time than the budget. Mistake one: I ordered the countertop template before the kitchen sink arrived, so the sink base ended up half an inch too shallow. We fixed it with a shim, but it's still not perfect. Mistake two: I skipped pre-drilling the drawer fronts and split two MDF panels. Replacement cost plus the drive to the store ate an entire Saturday. Mistake three: I measured the fridge opening but not the hinge swing. The new GE refrigerator wouldn't clear the wall, so we paid a $75 restocking fee and waited two weeks for the next model. Dave finally came over and told us to stop overbuilding. We almost upgraded an electrical panel that was perfectly fine. The lesson: always measure the whole appliance path, not just the box.

Tools That Earned a Permanent Spot in Our Garage
The best $89 I spent was a cordless oscillating multi-tool. It handled every awkward cut around window trim, old tile, and even the stubborn nails from the original cabinet boxes. We rented a demolition hammer for the floor and returned it the same day. The Delta pull-down faucet cost $179 and took under an hour to install. My favorite purchase was a cordless drill/driver with two batteries because cabinet assembly eats battery life fast. We used a $45 manual snap cutter for the tile and skipped the wet saw. For a 30-square-foot backsplash, it was completely fine. If you have a full-wall tile job, rent the wet saw, but don't buy one for a single kitchen.
The Timeline: Fourteen Saturdays and One Friday Night
The real schedule looked like this. Weekends one and two: demo and dump runs. Weekends three and four: electrical and drywall. Weekends five and six: paint and flooring. Weekends seven through nine: cabinets and countertop template. Weekends ten and eleven: appliances and plumbing. The final stretch, weekends twelve through fourteen, covered the backsplash, trim, and every small task that kept us from finishing. We worked six to eight hours each Saturday, plus one emergency Friday night when the dishwasher wouldn't slide into place because the floor was a quarter-inch high. The project stretched across four months because we had real life in between. If you're planning your own DIY kitchen renovation, build in that buffer. The house will still be there. Measure twice, cook once. Our full expense sheet is up on the blog if you want the template.