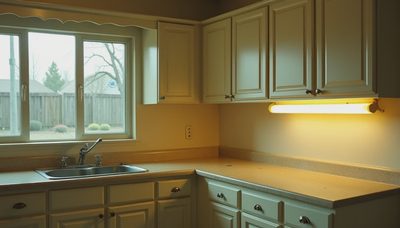
When I started collecting kitchen renovation images, I filled a Pinterest board with 250 photos of white Shaker cabinets and marble islands. Then I looked at my actual kitchen: almond laminate countertops, a 1994 oven, and a 180-square-foot layout that matched nothing. That gap between images and reality was my first lesson. This is my honest log of what kitchen renovation images can and can't do for you.
I tracked every cost in a public Google Sheet, from the $14,200 cabinet quote to $3.79 drawer pulls. Megan and I did demo and painting, with help from my buddy Dave on electrical. We made mistakes. Let's talk about how to use reference photos without fooling yourself.
Where Everyone Starts (the Wrong Way)
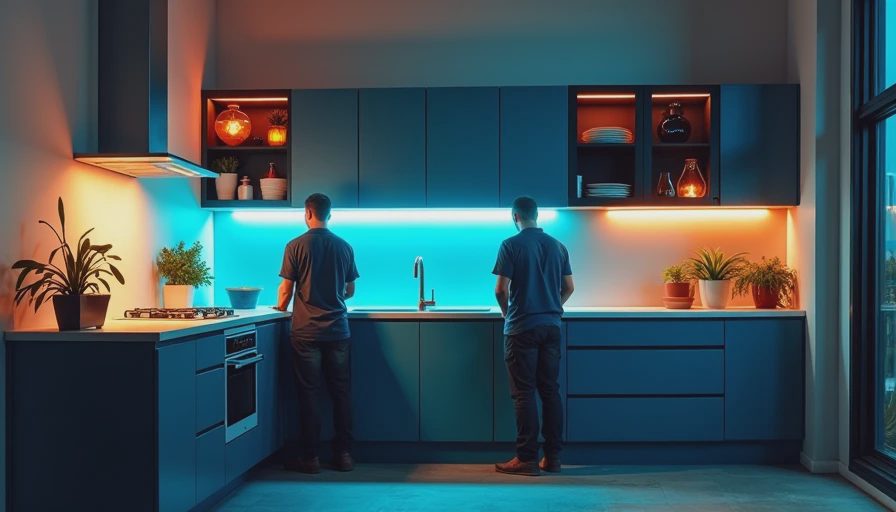
The average search for kitchen renovation images starts with "kitchen ideas" and ends with 500 pins of impossible 20-foot islands. These images are professional photography of custom homes. They are not a design plan. When I showed Dave a photo of a $60,000 kitchen and said "I want this," he asked, "What's your actual budget?" That's the question images don't answer. Another mistake is treating images as a material list. A photo won't show you the wall that had to move for the island, or the recessed lighting that costs $1,800 by itself. Save images for style direction, not construction specs.

What I Actually Saved to My Phone (and Why)
Instead of a chaotic mood board, I made three specific folders for kitchen renovation images. The first held "layout clues": images with a similar footprint. Our 11x13 room had two doorways and one window, so I searched for "galley kitchen with peninsula" and saved every match. The second folder was "materials close-up": tile backsplash detail, countertop edges, cabinet hardware. Flat-lay images are useless; you need zoomed-in photos that show how stone meets sink.
The third folder is "what I want to feel." That's images of a kitchen with the same general vibe, not style. Ours was "warm, not precious, kid-friendly." It sounds soft, but it guided every decision when the budget got tight.
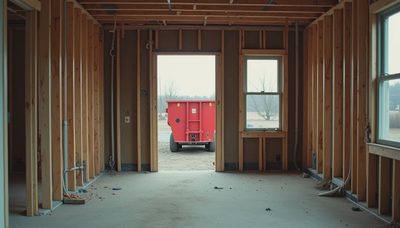
The Honest Camera Roll: Our 1994 Kitchen Mid-Demo
The most valuable kitchen renovation images I have aren't Pinterest ones. They're the 400 raw photos I took of our own kitchen during demo. Before touching a cabinet, I photographed every wall, corner, and pipe behind the drywall. Those images saved us twice. When we found knob-and-tube wiring, I had a clear before-photo for the electrician. When the cabinet company sized a custom filler panel, I compared my own photos and caught a $200 mistake.
Take before photos on day one, not the day before demo. When you're moving boxes and stacking dishes in the dining room, you'll forget the original. Then you'll be guessing whether a wall is load-bearing. Your future self needs those kitchen renovation images more than any designer picture.
How to Use Kitchen Renovation Images With a Contractor
When I emailed Dave a folder of images for our quote, I added, "This is the look, not the dimensions." That changed the conversation. Instead of matching exact cabinetry, he focused on intent: similar range hood, comparable countertop contrast. Contractors get annoyed when you hand them a photo of a $40,000 kitchen and ask them to match it for $20,000. If you're clear that images are inspiration, the process gets smoother.
Use the same image across multiple bids. When every contractor sees the same two reference photos, quotes are easier to compare. If one bid comes in $6,000 higher with the same image attached, the difference is labor rate and overhead, not confusion.
The One Image You Must Take Before You Start
Before ordering wood floor for the dining room, I took one more kitchen renovation image that had nothing to do with style: a photo of the floor height where it met the future tile. That photo, with a tape measure on the seam, prevented a half-inch height difference. If you do one thing today, lay a tape measure at the transition between kitchen and next room and photograph it. That number matters more than any slab of quartz you save to your board.
What the Perfect Images Never Show
Here's a lesson no amount of kitchen renovation images will teach you. The beautiful overhead shot with fluted island and brass faucet won't show the 6 a.m. chaos of cereal boxes and coffee mugs. It won't show the drop-ceiling fluorescent fixture you're stuck with unless you spend an extra $2,800 on wiring. It won't show eight weekends of demolition dust or the weeks of cooking on a hot plate in the garage. Sorry, Emma.
I'm not saying stop saving images. I'm saying save them with context. Write the budget in the caption. Write the square footage. Write why you'd use a drawer stack instead of 12 floating shelves that can't hold a blender.
Final Take
Kitchen renovation images are a starting point, not a promise. The honest version lives in your own before photos, receipts, and measurements. If you want to see exactly what $23,400 bought in our 1994 suburban kitchen, my full breakdown is on the site. And if you're starting your own remodel: measure twice, cook once.