My kitchen renovation project plan started on a Monday night with a yellow legal pad, a Google Sheet, and a very tired dishwasher. We live in a 1994 suburban house in Salt Lake City, and the kitchen had the kind of almond finish that makes you feel like time stopped working. I am not a contractor or a designer. I am a product manager who treated the remodel like a launch: define the scope, set the order, track the spend, and assume something will slip. That mindset saved us more than once. It also kept me honest when the pretty finishes started whispering my name from the showroom floor.
My kitchen renovation project plan, phase by phase
The first thing I did right was breaking the job into phases instead of pretending it was one giant project. I spent two weeks on measurements, rough sketches, and a wish list that got cut in half. Then I moved to pricing cabinets, appliances, plumbing, and electrical separately. That sounds obvious now, but it changed everything. Cabinets had the longest lead time, so they became the anchor. Countertops came later. Paint and hardware were last. We did not order anything until we knew where the sink, dishwasher, and range would land.
Once I treated the kitchen renovation project plan like a product launch, the chaos got a lot easier to manage. I had a draft schedule with a little buffer between demo and install, because nothing in a house that old arrives exactly on time. Our target was an eight-to-ten-week stretch, but I planned for twelve. That extra month made the whole thing feel survivable instead of heroic.
I also set a hard rule: if a choice did not affect the layout or the budget, it could wait. That kept us from spending an entire Saturday debating drawer pulls while the electrician was waiting on final outlet locations.
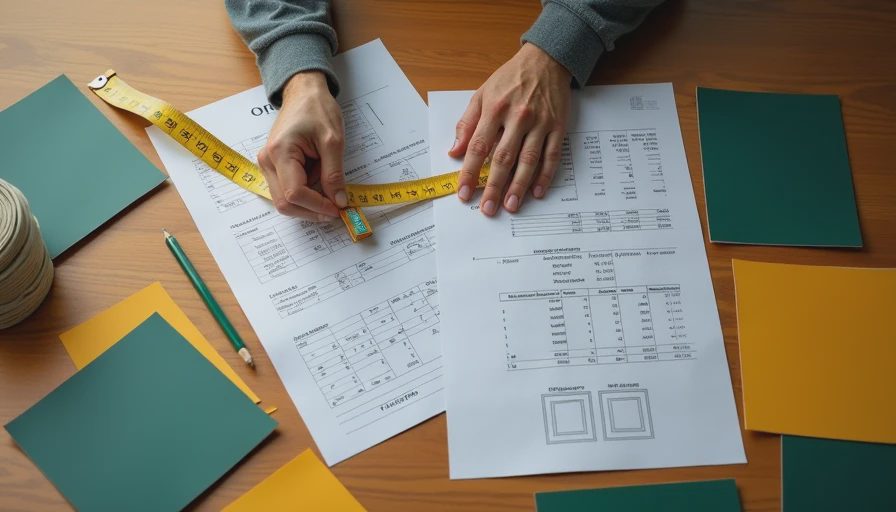
The budget line items that actually mattered
The biggest lesson from the budget was that the visible stuff is only part of the bill. Our cabinet package came in around $14,800, including install. Quartz countertops were another $5,200. The dishwasher, range, and refrigerator totaled just under $4,900 because we bought midrange models, not luxury pieces. Electrical work ran about $1,900 after we added new outlets, under-cabinet lighting, and a dedicated line for the microwave. Plumbing was about $1,250, mostly because the sink moved a little and the shutoff valves needed replacing.
We also spent money in the boring places that get ignored online: primer, caulk, disposal fees, drywall patching, and a pile of painter’s tape that somehow disappeared faster than the snacks in our garage fridge. Hardware was $420. The faucet was $260. Tile for the backsplash was $780, but the real cost was labor and the extra boxes we bought when the first batch was too short for the final wall height.
The budget was not perfect, but it was honest. I carried a 15 percent contingency and used almost all of it. That buffer covered a surprise subfloor repair and a last-minute filler panel when one cabinet run needed a cleaner finish. If your plan has no contingency, it is not a plan; it is a hope.
What I bought before demo and what waited
This is where the order of operations saved us from living in a half-finished room for months. Before demo, I bought the appliances, the cabinet boxes, the sink, the faucet, and the main lighting fixtures. Those items had the longest lead times and the most chance of delaying the rest of the job. I also had a temporary kitchen set up in the garage with a toaster oven, a microwave, an induction burner, paper plates, and a folding table. It was not cute. It was functional, which is better.
Things that waited included wall paint, bar stools, art, and most of the decor. I am glad I did not rush those. Once the cabinet color and countertop pattern were in the room, the rest of the choices got easier. We had originally been tempted by a bolder tile, but after the countertop was installed, a simpler backsplash made the whole room feel calmer and less busy.
The appliance choice mattered more than I expected. We chose a Bosch dishwasher because quiet matters when you are cooking while one kid is doing homework and the other is asking where the scissors are. That kind of practical decision belongs in the kitchen renovation project plan, even if it is not the part you want to talk about at dinner.
The mistakes I would not repeat
I made three mistakes that cost time and a little money. First, I underestimated how much filler space we needed near the fridge wall. That meant one extra trip to the cabinet shop and a delay I could have avoided with a better dimension sketch. Second, I assumed every outlet could stay where it was. Wrong. Once the cabinet layout changed, the receptacles had to move, and the electrician’s second visit was not cheap. Third, I ordered too little primer because I guessed instead of measuring the wall area after patching. That was a dumb, preventable errand.
The biggest miss was emotional, not technical. I thought I could make decisions faster by staying flexible. In reality, flexibility turned into delay. The moment I wrote down the finish choices, the install dates, and the payment milestones, everything moved smoother. A kitchen renovation project plan is not just a checklist. It is the thing that keeps everyone from making expensive guesses in the middle of a messy week.

The checklist I would hand a friend
If a friend asked me how to start, I would tell them to measure the room twice, sketch the traffic flow, and decide which items can wait and which cannot. I would tell them to price cabinets first, then appliances, then electrical and plumbing, then the pretty layers like tile and paint. I would also tell them to add a cash buffer before they feel ready, because being ready on paper and being ready in the real world are not the same thing.
I would keep one working sink if possible, save the old microwave until the new one is installed, and document every receipt in one place. The shared spreadsheet in our house ended arguments before they started. Megan could see the numbers, I could see the schedule, and nobody had to rely on memory while dust was covering the floor. That alone was worth the effort.
If you are staring at an outdated kitchen and feeling overwhelmed, start small and write the kitchen renovation project plan before you buy the pretty stuff. That is how you protect the budget, avoid the dumb mistakes, and keep dinner moving while the room gets rebuilt. Measure twice, cook once.