The Room That Finally Works
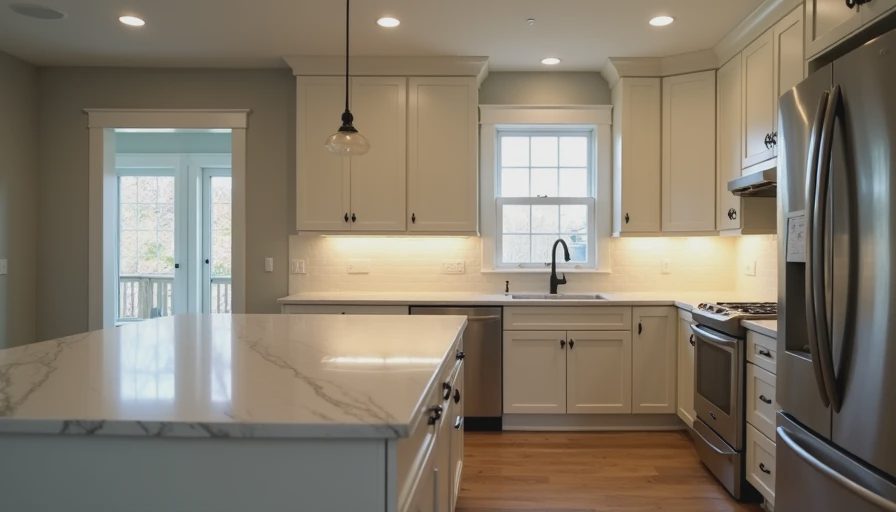
Ten weeks after the dumpster arrived, the almond cabinets are gone, the fluorescent lights are silent, and the mystery burn mark lives only in the before photos. The kitchen is finished enough to cook in, clean enough to photograph, and honest enough to show without filters.
This is the after tour. Not the staged magazine version. The real one—with the final number, the remaining imperfections, and the quiet satisfaction of a room that no longer fights us every time we try to make dinner.
The Final Number First
Original estimate: $38,000
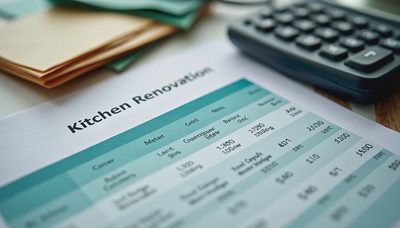
Final total recorded in the public spreadsheet: $41,400
We finished $3,400 over the starting number. The two largest drivers remain the asbestos abatement and the plumber’s stop-work week. Everything else—tools, temporary kitchen costs, small overruns, and the countertop install adjustments—added up to the rest. The sheet is fully updated. Every receipt is logged. No categories were quietly merged to make the total prettier.
The Layout That Survived
We kept the original footprint. The sink is still under the window. The range is still on the opposite wall. The peninsula is still there, but now it works as a landing zone instead of a traffic obstacle. Two adults and two kids can move through the space without the old dance of “excuse me, hot pan, dog underfoot.”
The biggest functional change is invisible on a floor plan: clear sight lines, consistent lighting, and storage that opens without a fight. Those three things altered how the room feels more than any wall we could have moved.
Cabinets and Hardware
White shaker RTA cabinets, plywood boxes, soft-close everywhere. The doors that arrived with the wrong hinge side are now correct. The missing drawer front was replaced. After several weeks of real use the finish is holding up to fingerprints, backpacks, and the occasional kicked toe-kick.
Hardware is simple black bar pulls. We chose them after far too many trips to the store. They are easy to clean and do not catch on clothing. The soft-close hinges and drawers still feel like a small luxury every time they shut without a slam.
Countertops and Backsplash
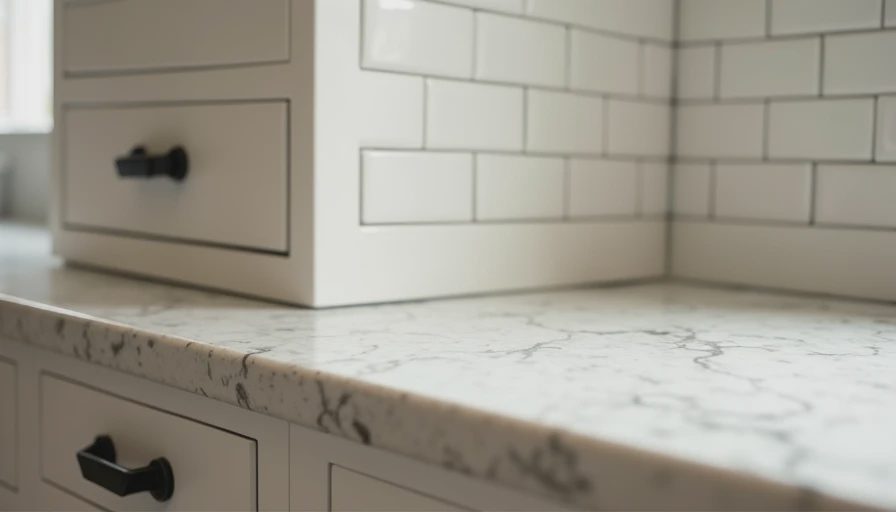
White quartz with subtle gray movement. The seam on the peninsula is visible if you look for it and acceptable if you do not. The undermount sink sits cleanly after the on-site adjustment. Heat, red sauce, and homework have all tested the surface. So far it is winning.
The backsplash is a simple white ceramic subway tile with a light gray grout. We installed it ourselves after the counters. It is not perfect— a few cuts around outlets are slightly wider than ideal—but it is straight, clean, and easy to wipe. It does the job without demanding attention.
Flooring
The rigid-core LVP with 20-mil wear layer has now seen kids, dog nails, spilled sauce, and construction traffic. It still looks like a floor that belongs in a working kitchen. A few surface scuffs exist if the light hits them just right. We have spare planks labeled in the garage.
Lighting and Electrical
The old fluorescent fixture is gone. In its place: recessed lights on a dimmer plus LED under-cabinet strips that make evening cooking feel calm instead of clinical. The single switch that once controlled everything has been replaced with a logical set of switches. The panel update the electrician performed during the rough-in phase means we no longer wonder which breaker controls the disposal.
What Still Isn’t Perfect
A small section of baseboard near the refrigerator sits 1/16 inch off the floor. One cabinet door soft-close mechanism is slightly slower than the others. The paint on the wall behind the range shows a faint roller mark if you stand in the exact right spot. We know these things are there. We also know they do not affect how the kitchen functions.
Perfection was never the goal. A durable, honest, mid-budget kitchen that a real family can use hard was the goal. On that measure the room succeeds.
The Temporary Kitchen Is Gone
The camp stove is back in its box. The folding table has returned to the garage. The Instant Pot now lives in a permanent cabinet instead of on a power strip in the dining room. Paper plates are once again reserved for actual picnics. The dining room feels larger. The house feels finished in a way it has not since the first cabinet door came off.
What the After Photos Do Not Show
They do not show the twelve-hour demo day, the asbestos report, the six-week cabinet delay, the plumber who stopped everything, or the ten-hour countertop install. They do not show the Instant Pot chili rotation or the dust that still appears on baseboards weeks later. Those things live in the earlier posts and in the public spreadsheet.
The after photos only show the result. This tour is meant to sit beside them so the result has context.
Standing in the Finished Room
I still catch myself opening a drawer just to hear the soft close. Megan has claimed the under-cabinet lighting as her favorite feature. Charlie likes that the floor is “not cold.” Emma likes that the new sink window is the same window, just cleaner. The dog has claimed the exact same spot he always claimed, only now it is on LVP instead of old vinyl.
The kitchen works. It cost more than we first hoped and less than the contractor bids that started this whole process. It took longer than the optimistic schedule and roughly as long as the realistic one we should have written on day one.
Ten weeks. $41,400. One functioning kitchen.
Measure twice, cook once.
And when the after tour is finally possible, take the photos—then go make dinner.